Browse Vehicles
All of the vehicles you've added in MotorDesk can be found and managed from the Vehicles -> Browse Vehicles section.
Your vehicles are presented in rows with vehicle and workshop data shown in columns. Simply click a column heading to sort by.
To enable or hide columns, click 'Columns'.
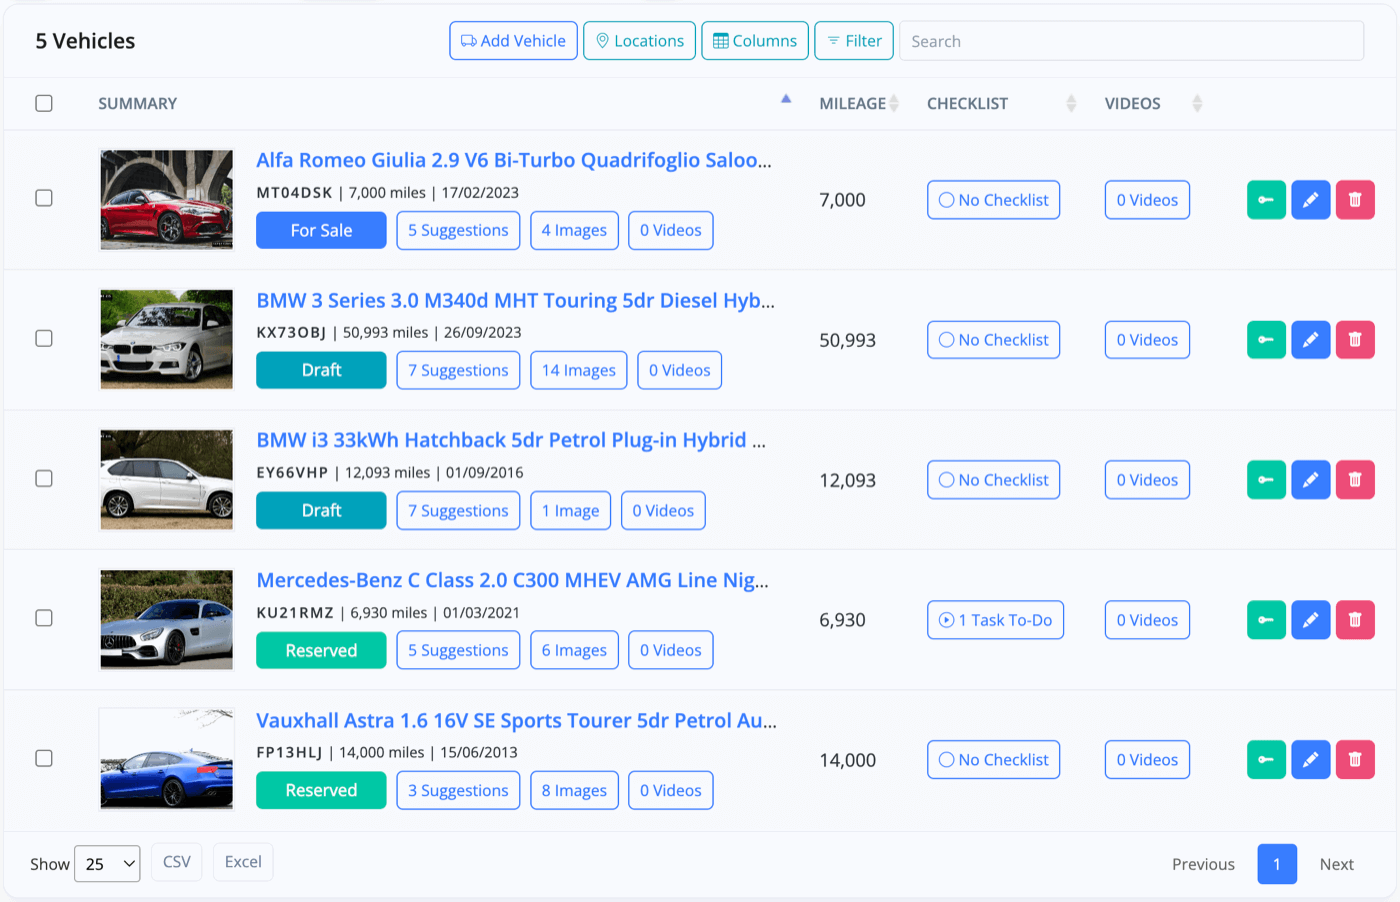
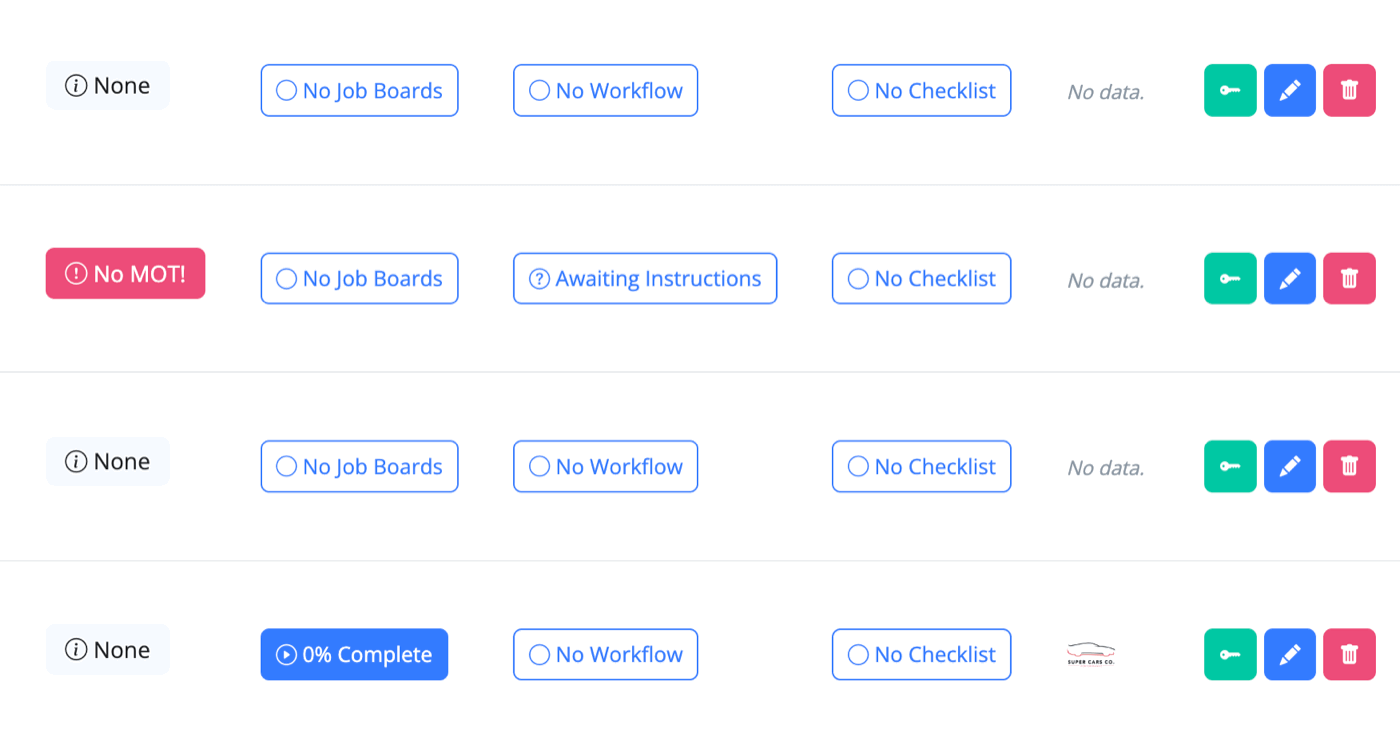
Note: The Browse Vehicles table is typically very wide and will have many columns hidden to the right; you can scroll to the right to reveal this data. On a touch device scroll with two fingers, or using a mouse hold shift and scroll.
Much of the content inside the columns is interactive and will take you directly to the area of MotorDesk that's relevant to that column. For example, clicking the MOT alert will take you directly to the vehicle's 'Vehicle Check' menu.
Views, Filters & Searching
There are various filters at the top of the page to help you organise and search your stock.
Starting from the left-hand side, you have 'All', 'In Stock' & 'To Order'.

By default, 'All' is selected, showing the vehicles you have in stock (In Stock), as well as the vehicles that represent future stock (To Order).
Please see our Adding a Vehicle documentation for more details about 'To Order' vehicles.
Then you have 'Customer' and 'Courtesy'.

These are for vehicles that you do not sell, i.e. Customer cars in for repair and cars you loan out as courtesy cars. They are kept completely separately from your regular stock.
If there is a vehicle that you are servicing, repairing, or generally just working on, you will add it as a 'Customer' vehicle and find it under the 'Customer' tab in Browse Vehicles.
If you have vehicles that you loan out to customers as a courtesy car, add them as a 'Courtesy' vehicle, and you will find them under the 'Courtesy' tab in Browse Vehicles.
Next is 'Browse', 'Pricing' & 'Advertising'.

These three all relate to your In Stock & To Order vehicles, not Customer or Courtesy vehicles, and provide a quick way to flick between different data views for vehicles.
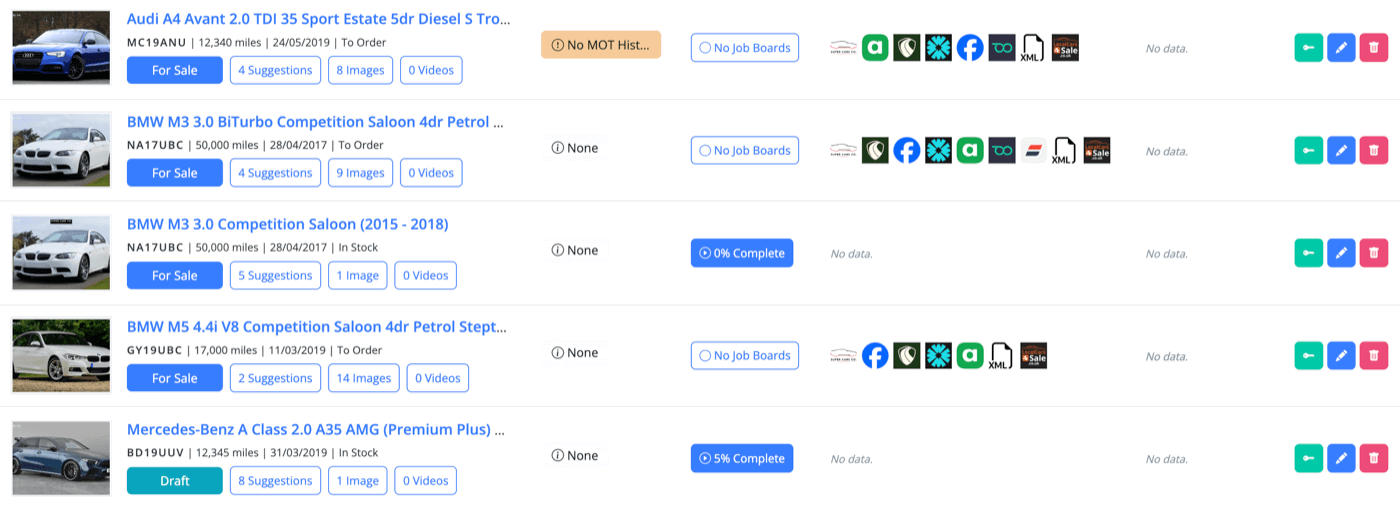
Browse is the default and will show you a range of workshop updates, vehicle valuation data, and provenance checks.
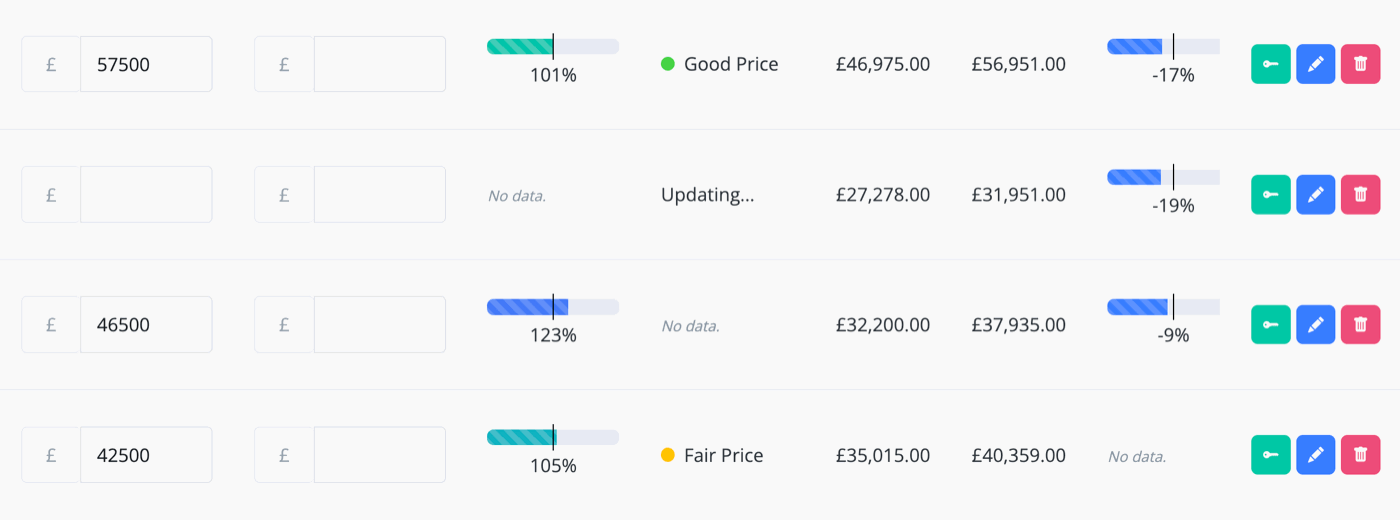
Pricing will show you, and enable you to quickly edit, the price of your stock on both the website and sales channels, as well as view pricing-specific data such as Price Position, Price Indicator, and Stand In Value.
Advertising will let you see an overview of where your vehicles are published for sale, and enable you to publish and unpublish them from any sales channel you've set up.
Then we come to 'Latest', 'Overage' & 'Demo'.

Latest shows your most recent additions within a certain number of days.
Overage shows vehicles that have been in stock beyond a certain number of days.
Set the number of days for each in your Vehicles -> Settings section.

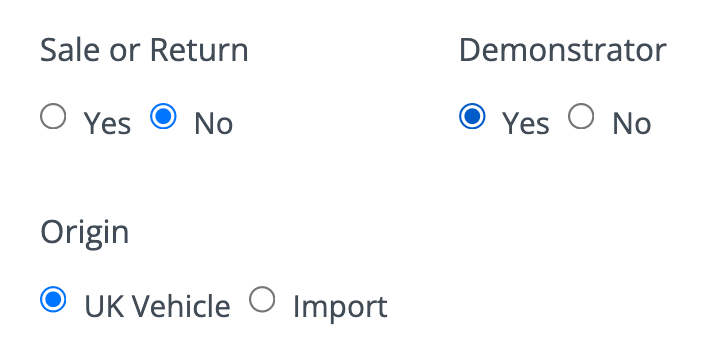
Demo will show vehicles that you have marked as a 'Demonstrator' in the vehicle's Stock & Price menu.
Vehicle Statuses
You can filter the Browse Vehicles page by Vehicle Status: 'Draft', 'For Sale', 'Reserved', 'Sold', 'Complete' & 'Deleted'.
See our Vehicle Status documentation for more information on which vehicle statuses apply to which vehicles.

A different set of filters will appear when viewing Customer or Courtesy vehicles - see below.
These are filters that let you choose which vehicles can be seen, from draft vehicle through to a vehicle that has been handed over to the customer (vehicle status).
Vehicle status filters reflect the Vehicle Status in the vehicle's settings menu.
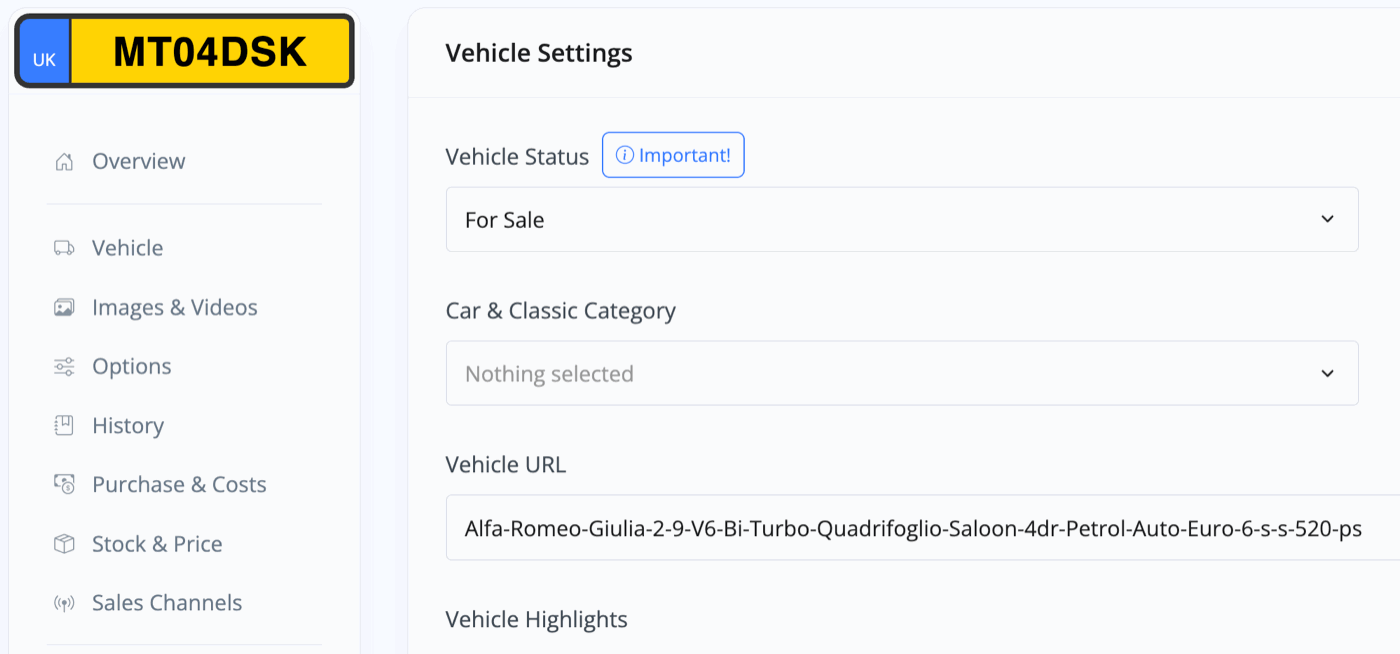
All of these can be selected at once, or none of them. It's just a way of organising which vehicles, at different stages in the sales cycle, you want to see.
There are also drop-down options for these filters just below, too.
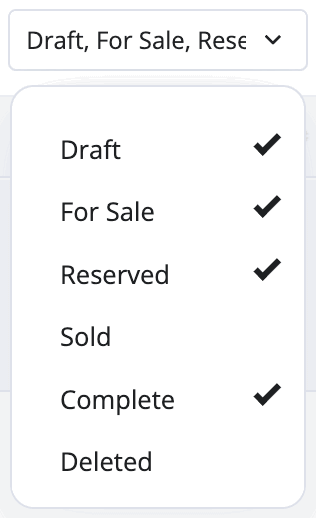
Customer/Available, On Site/In Use, Deleted
The status filters change when viewing Customer or Courtesy vehicles. They work in the same way however, allowing you to expand or limit which vehicles appear on the page based on their current status.


When you Book In a customer's vehicle, it will change from 'Customer' to 'On Site'.
When you Loan out a courtesy car, it will change from 'Available' to 'In Use'.
The drop-down options for these filters below will also change to reflect the different statuses.
Once again, see our Vehicle Statuses documentation for more information on how vehicle statuses apply to Customer & Courtesy vehicles.
Finally, just above the column headers, you have a shortcut to 'Add Vehicle', a filter for viewing vehicles by 'Locations', and the options for customising 'Columns'.
To set up vehicle locations, go to Business -> Locations. You can then assign any vehicle to any location.

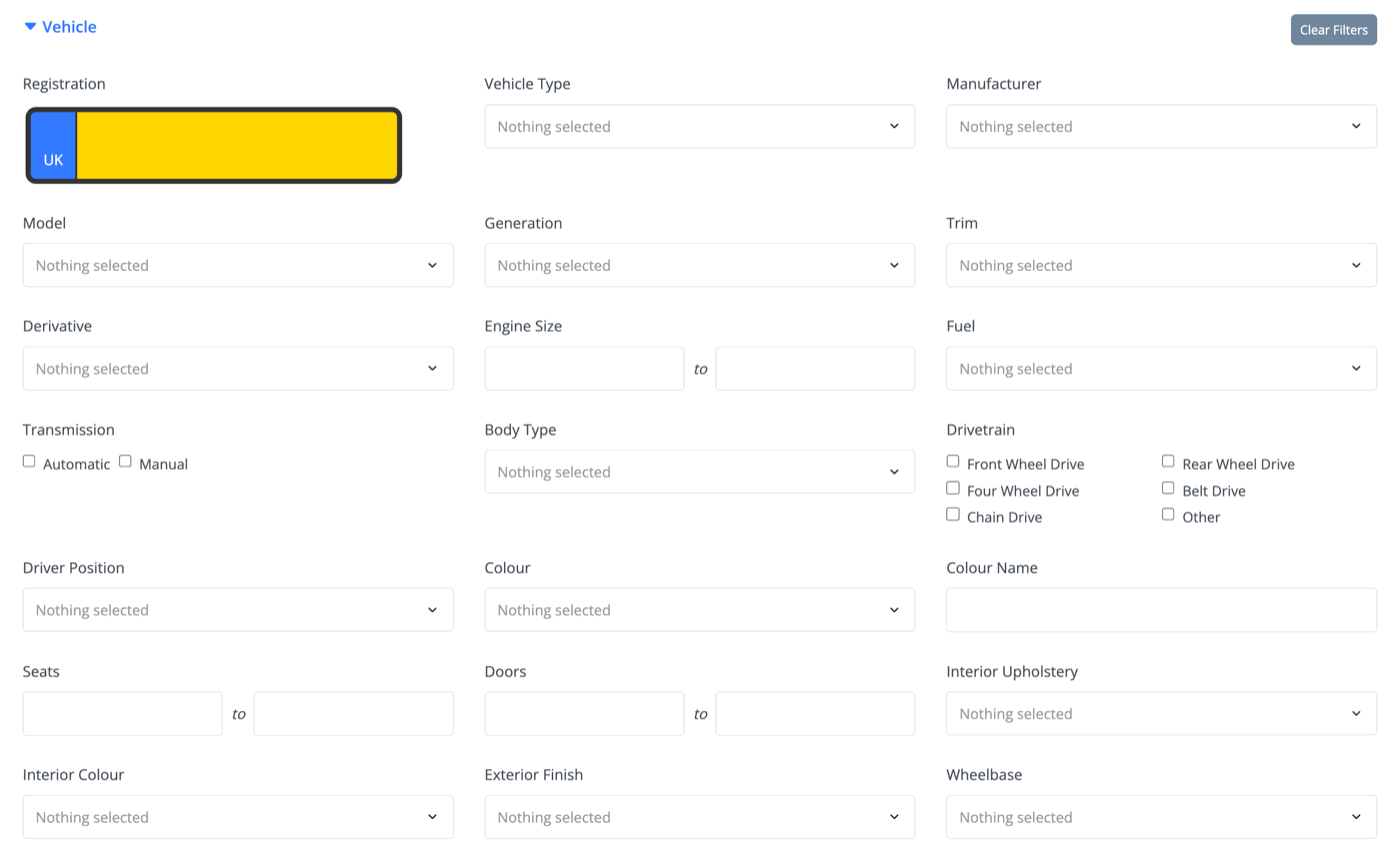
The final option 'Filter' is for very detailed vehicle searching.
Managing Individual Vehicles
To the right of each vehicle, you will see three buttons giving you quick access from this page to either 'Sell', 'Remove' or 'Edit' a vehicle.

Editing a vehicle allows you to revisit all the steps when adding a vehicle initially. For example, you can go back and add more photos/videos for the vehicle or update vehicle history information.
For selling a vehicle, please see our Selling A Vehicle guide.
Other options are providing for jumping to specific features such as images, workflows and checklists. For example, in the columns that show you how many videos are attached to a vehicle listing, you can click 'Videos' and be taken to the Images & Videos section of the vehicle edit process.
Bulk Editing/Removing Vehicles
You can remove multiple vehicles at once by selecting the boxes on the left-hand side of the vehicles you'd like to delete. Once the boxes have been checked, you'll see options for 'Edit' and 'Remove and Share' appear in the bottom left. Click 'Remove' and confirm you'd like them removed in the pop-up that appears.
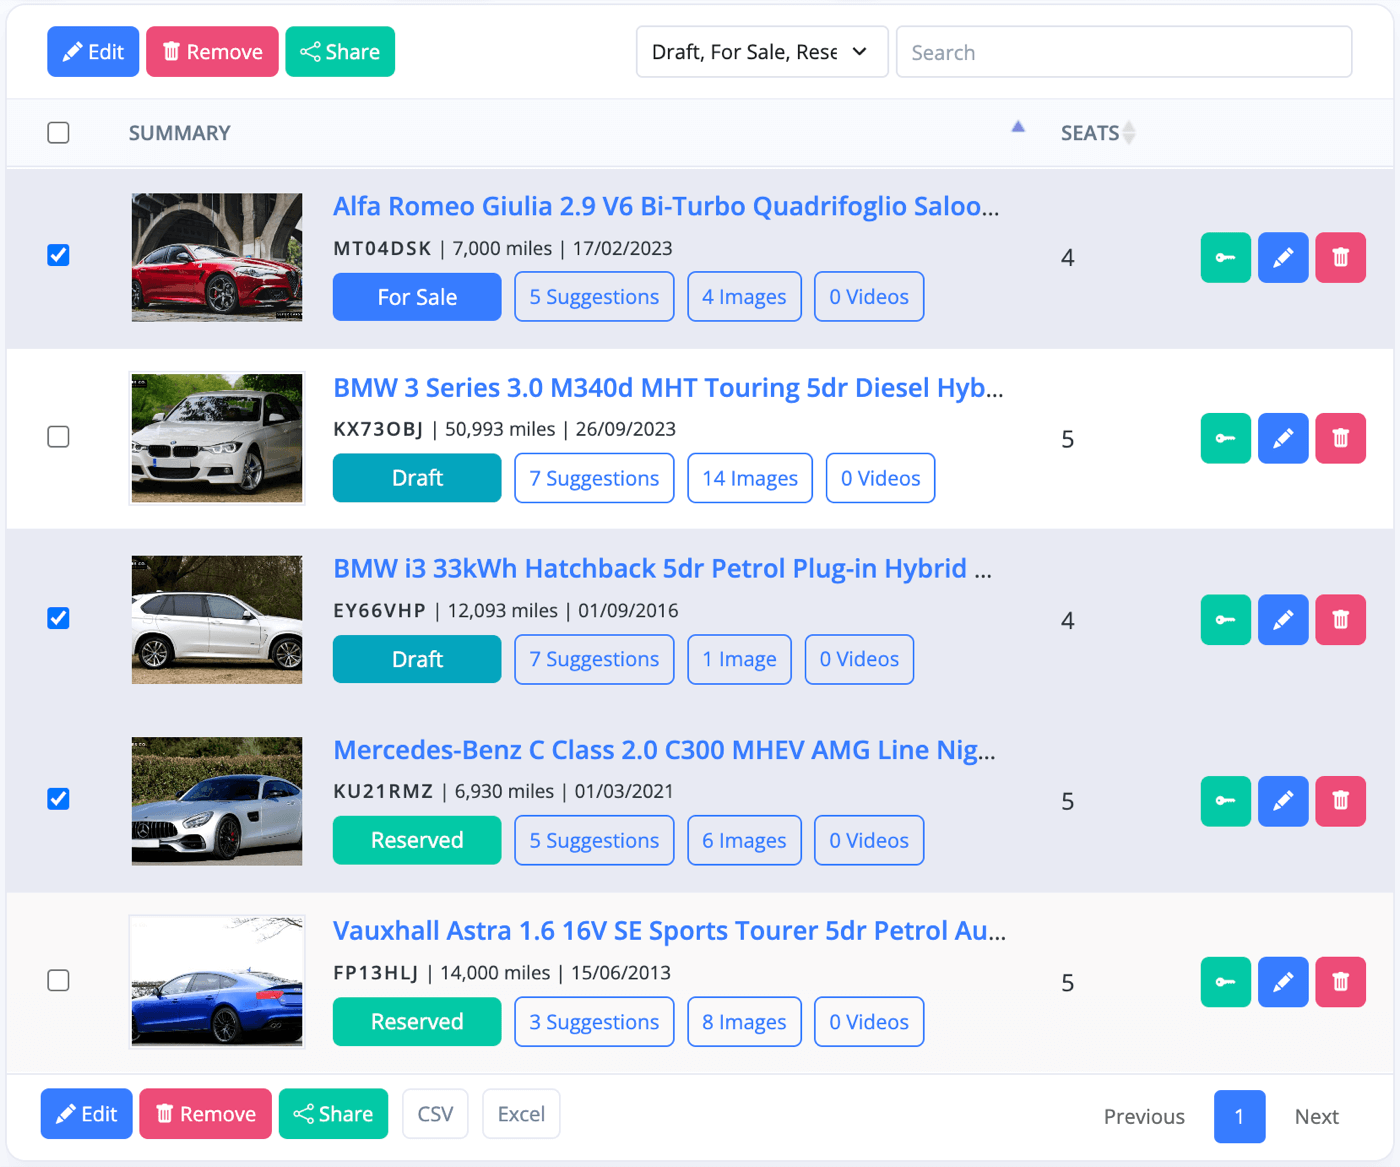
You can also edit in bulk by selecting the boxes on the left-hand side of a range of vehicles, however this bulk edit is limited to options displayed in certain columns. This is also how you can quickly add notes to a vehicle.
Exporting Data
At the bottom of the page you'll see 'CSV' and 'Excel'. You have the option to export all the Browse Vehicle data as a CSV or Excel file by clicking either one, which will start an automatic download of the file. If you'd like this data for a specific range of vehicles, click the boxes on the left-hand side of the vehicles you'd like to include in the CSV or Excel file and then click CSV or Excel to automatically download the file.

Related Documentation
Usage Guide
- Account Alerts & Sales Channel Error Notifications
- Adding & Managing Contacts (Customers & Suppliers)
- Adding A Vehicle
- Adding Appointments To Your Calendar
- Adding Pre-Defined Products & Services
- Adding Website Pages & Navigation Links
- Adding Website Tags
- Aftersales Invoices
- AI Lead Assistant
- AI SEO Search Results Explained
- Booking Types & Website Booking Forms
- Branding Your Website
- Browse Vehicles
- Business Contact Details (Telephone & Social Media)
- Business Details (Address, Legal Name & Company Number)
- Business Follow-Ups - Automated SMS & Emails To Customers
- Business Opening Hours (and Holiday Closures)
- Business Social Networks
- Business Users & Roles
- Cancelling A Vehicle Sale or Reservation
- Changing Vehicle Registration (Number Plate)
- Changing Your Membership Plan
- Connecting Finance (iVendi, Codeweavers, CarFinance247 & Evolution Funding)
- Connecting Third-Party Services
- Creating Invoices, Purchase Invoices & Orders
- Customer & Courtesy Vehicles
- Deal Builder
- Display A Different Business Address In MotorDesk
- Displaying Announcements With Website Banners
- Editing Auto-Generated Content In MotorDesk
- Editing Website Pages
- Exporting Business Data
- Filtering Junk Leads
- Handover Process
- How MotorDesk Integrates with Sage, Xero & QuickBooks
- How to Add an AA Dealer Promise/Warranty Page
- How To Change Your Website Images
- How To Enable Online Reservations
- Importing Your AutoTrader Stock
- Initial Website Set-Up & Picking A Website Template
- Invoice Customisation
- Membership Payments
- Membership Plans, Data Charges & Payments
- Navigating MotorDesk & Your Dashboard
- OCR (Automatic Invoice Reader) Help
- Remove A Vehicle
- Sales Leads & Chat
- Sales Reports
- Selling A Vehicle
- Selling Multiple Vehicles At Once
- Sending & Signing Documents
- Show Sold Vehicles On Website
- Taking Deposits & Part Payments In MotorDesk
- Un-Publish A Vehicle
- Updating Your Contact Details
- User Profile (Change Email & Password)
- Vehicle Analyser
- Vehicle Appointments
- Vehicle Check
- Vehicle Checklists
- Vehicle Competitors
- Vehicle Condition Reports
- Vehicle Details
- Vehicle Documents
- Vehicle Finance Invoices
- Vehicle History
- Vehicle Images & Videos
- Vehicle Import
- Vehicle Job Boards
- Vehicle Leads & Orders (Leads & Deals)
- Vehicle Locations
- Vehicle Optional Extras, Features & Descriptions
- Vehicle Overview
- Vehicle Photo Background Removal
- Vehicle Purchase & Costs
- Vehicle Quick Check
- Vehicle Reservations
- Vehicle Settings
- Vehicle Silent Saleman
- Vehicle Specification
- Vehicle Stock & Price
- Vehicle Test Drives
- Vehicle Workflows
- Vehicles For Sale Limit Reached
- Vehicles Settings
- Vehicles Stock Book
- Website AI SEO
- Website Banner Settings
- Website Blog Articles
- Website Customer Reviews
- Website Deal Builder Settings
- Website Header & Footer
- Website Live Chat Settings
- Website Settings
- Website Statistics
- Website Valuation Settings
- Website Vehicle Search Result Design