Displaying Announcements With Website Banners
There are multiple ways of making announcements across your website in MotorDesk. The method you should use depends on where you would like the announcement to appear on your website.
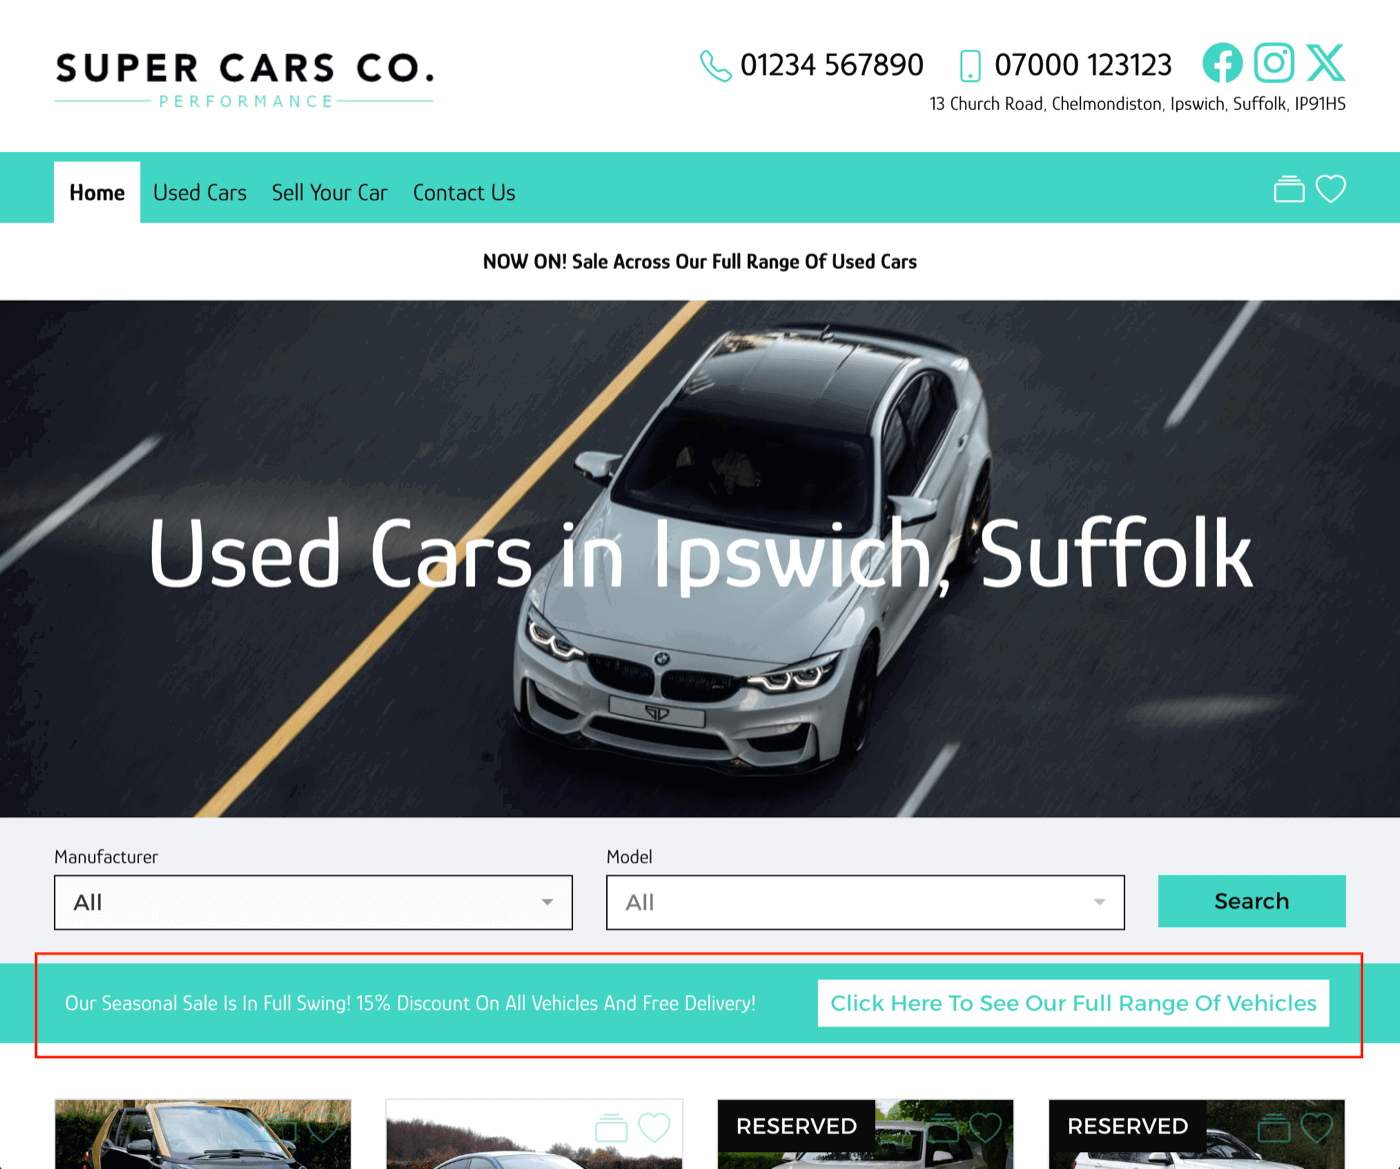
Method 1 - Website Banner
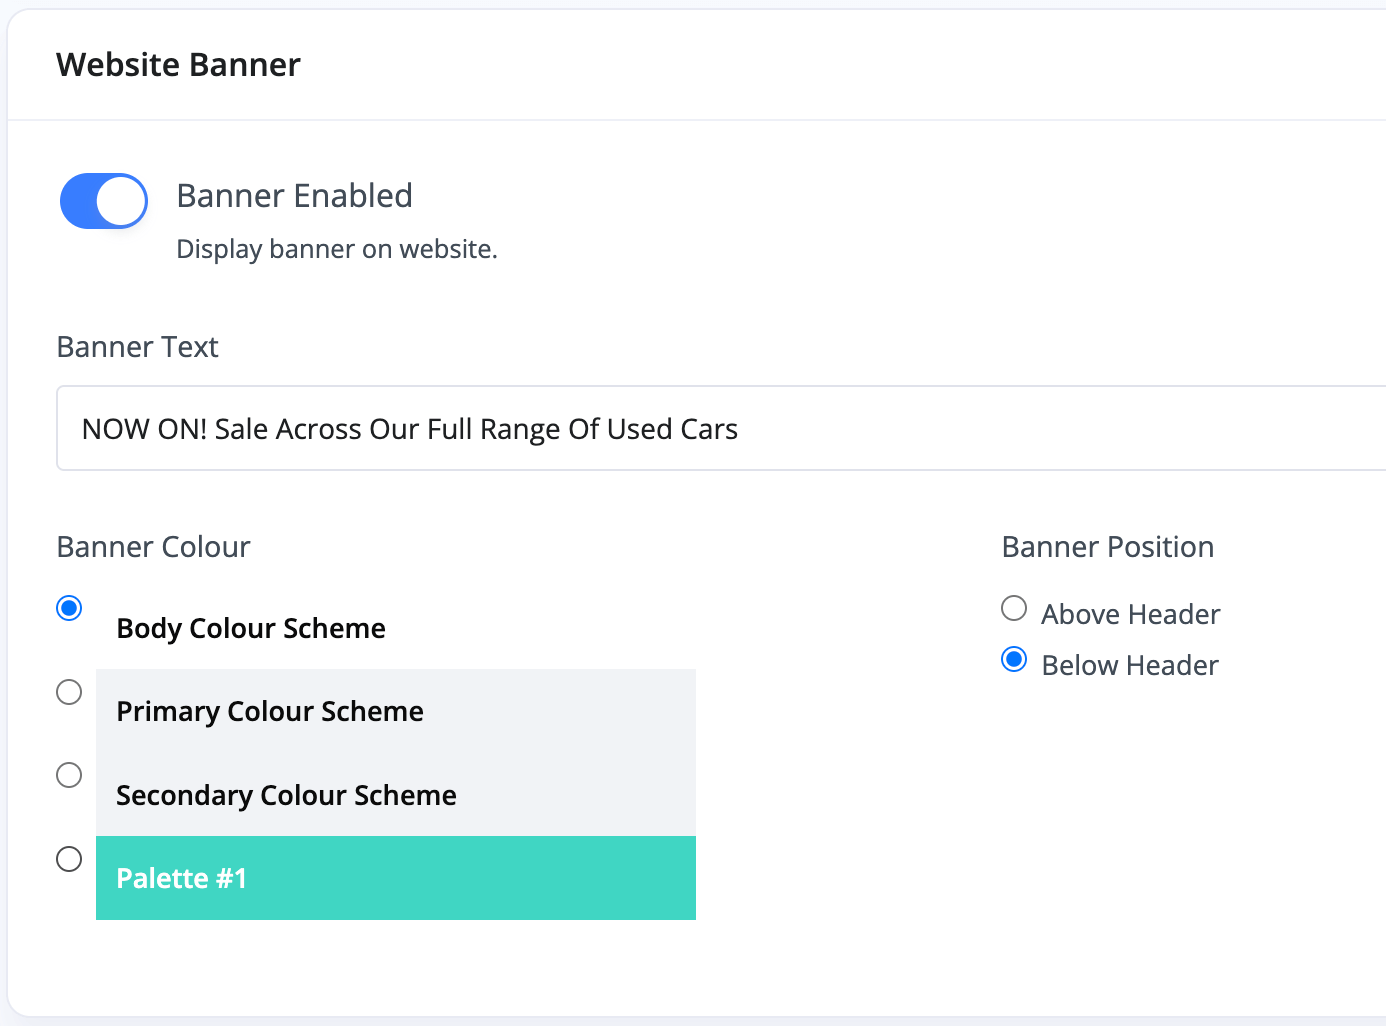
The first method is to add a centred banner across the top of your website by going to the Website -> Settings -> Banner section.
Enable the banner and enter the text you'd like to appear. Then simply choose the colour scheme and banner position.
In this example, we're choosing a white background for the banner and putting it below the website header.
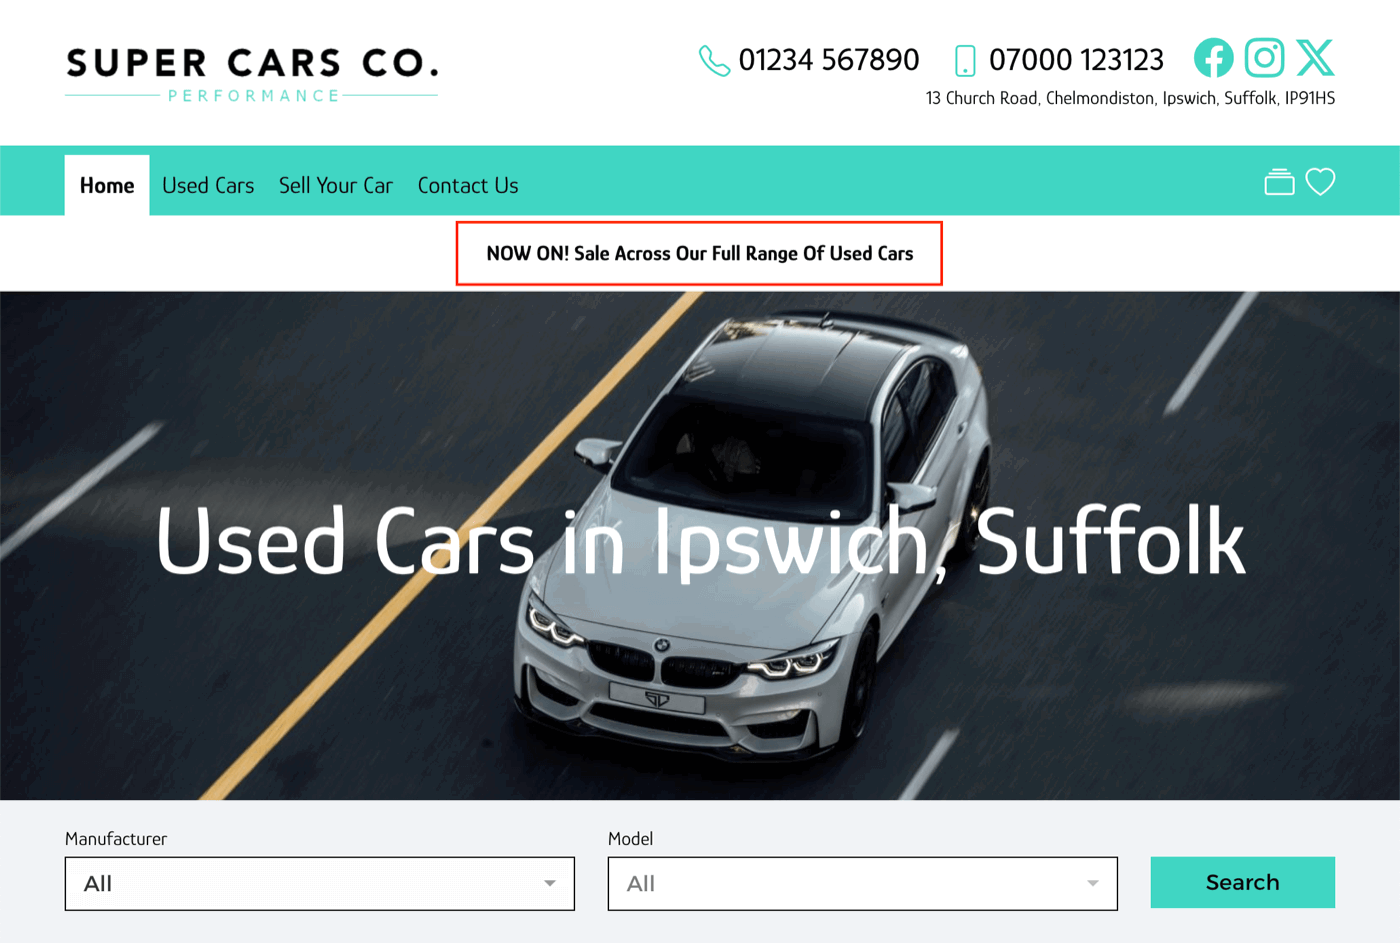
This is how it will appear on your website.
Method 2 - Header Top Bar
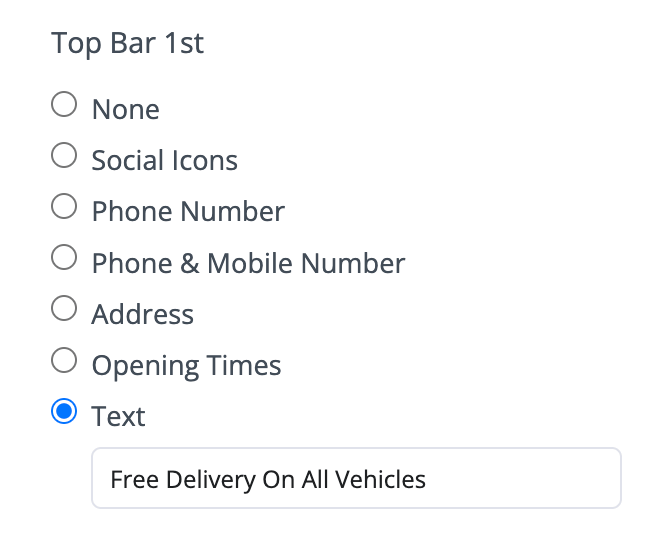
The second method is to go to the Website -> Header section.
First, enable the 'Top Bar'.

Then choose the 'Text' option under one of the top bar content selectors and enter the text you'd like to display.
This will appear like this on your website.
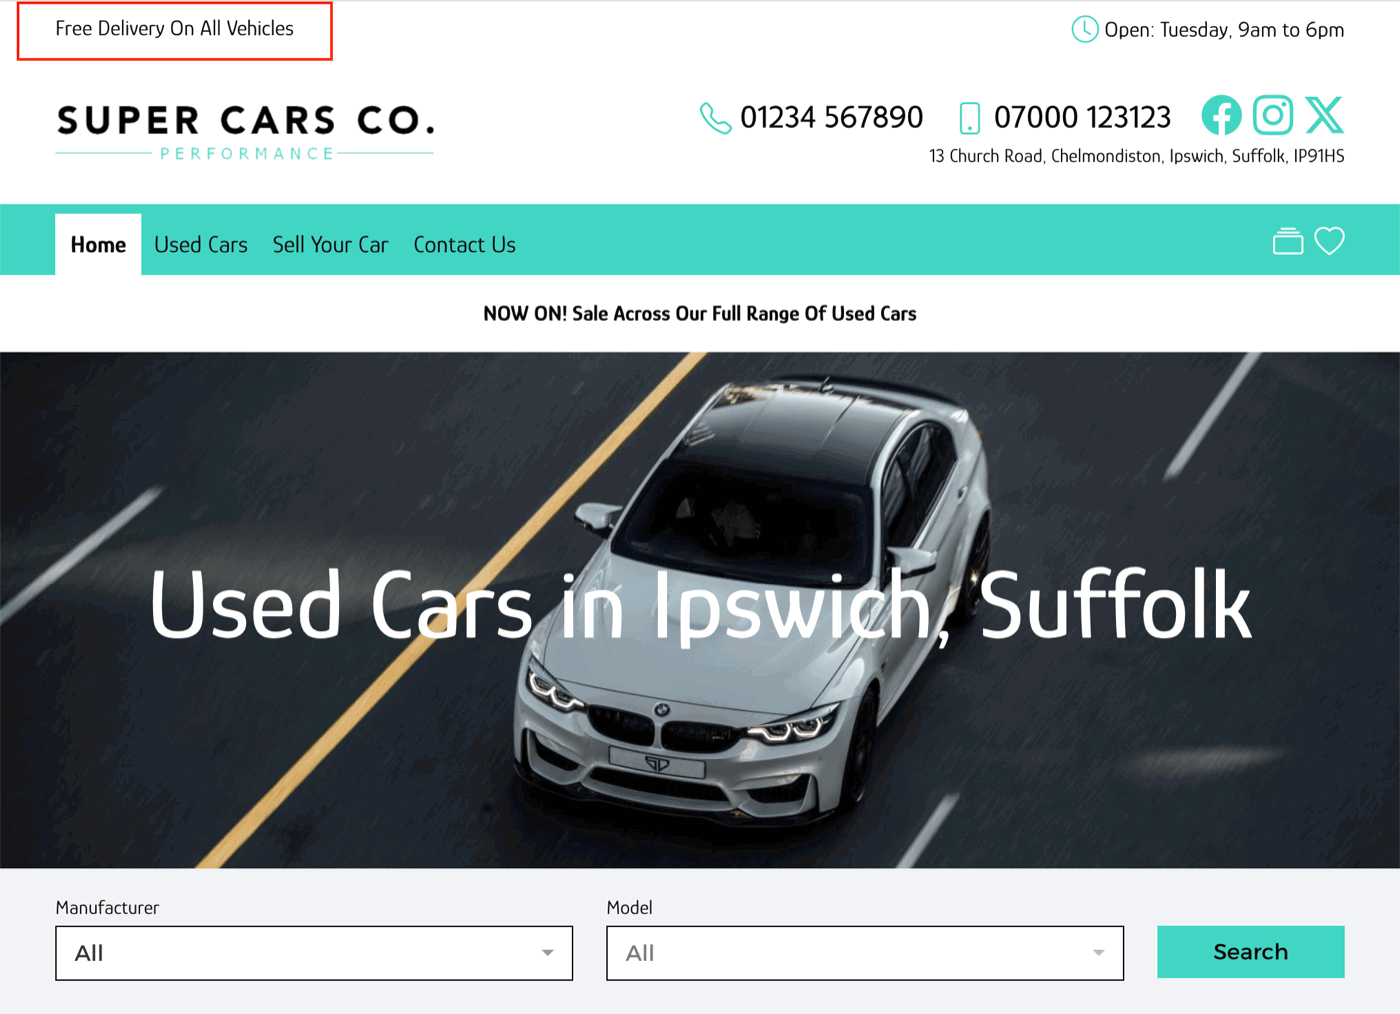
Note: Top Bar 1st, 2nd, 3rd & 4th appear in left to right order, so when just one is filled in, it'll be on the left, when 2 are filled in (see example above) they'll be left & right, when 3 are filled in they will be left, centre & right.
Method 3 - Website Module
The third method is by adding a 'Banner' module on the website page itself in the Website -> Pages section.
First choose where and on which page you'd like the banner displayed, click the plus icon and 'Insert New Module'.
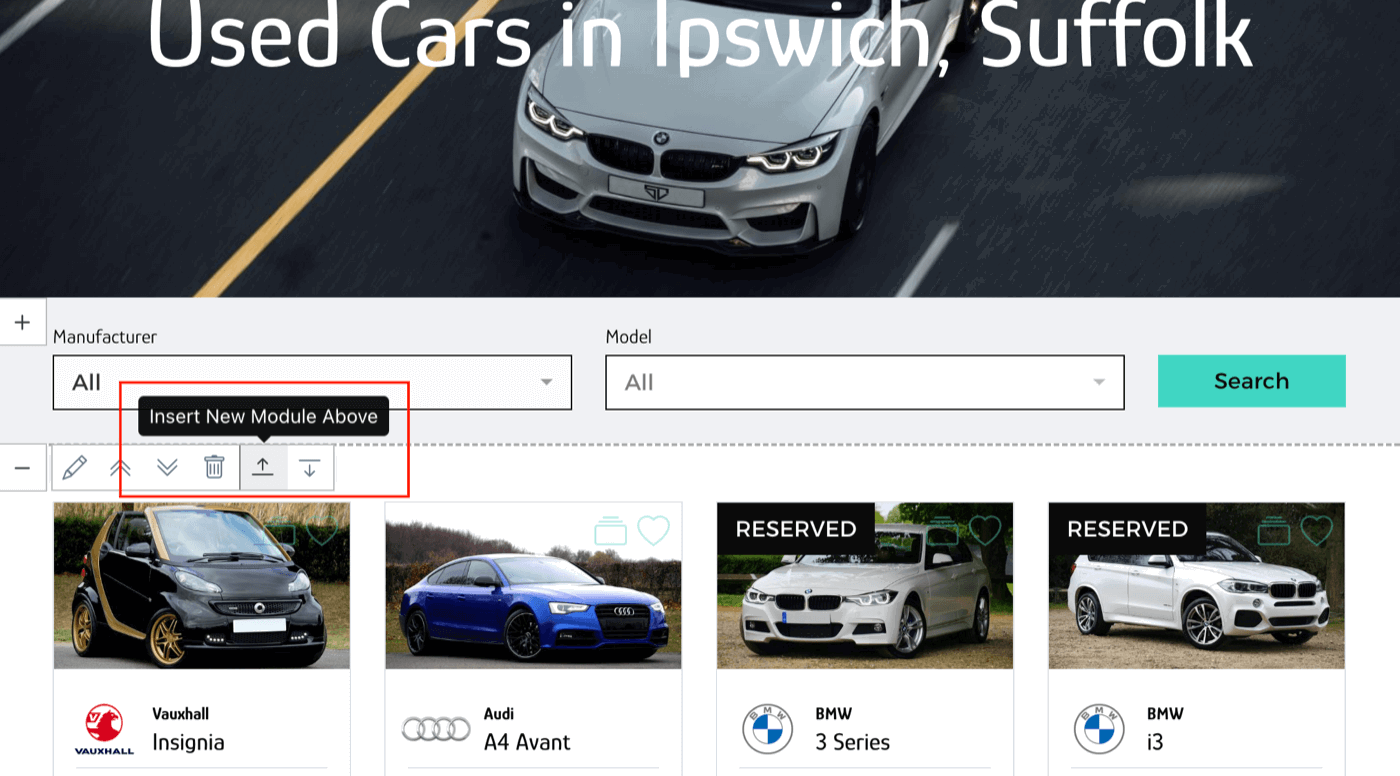
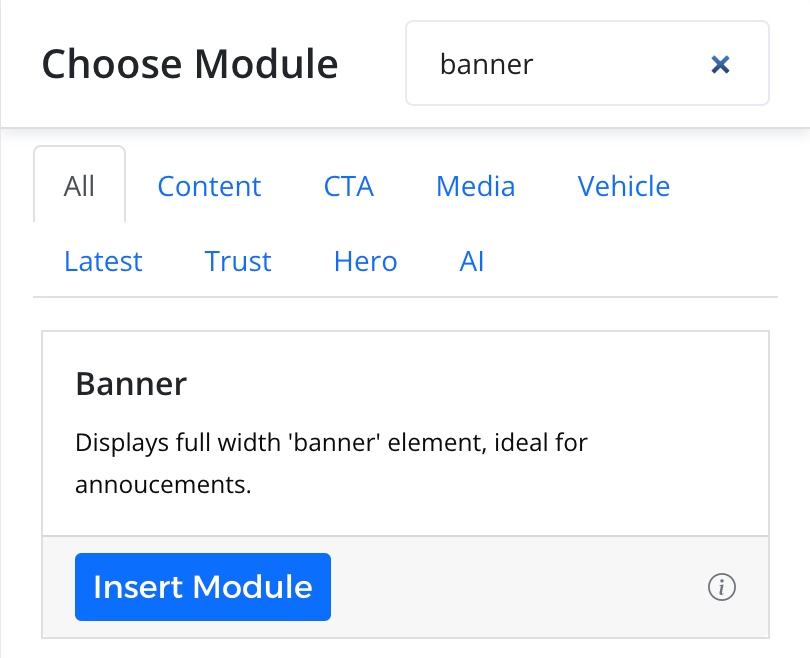
Search for and select the 'Banner' module.
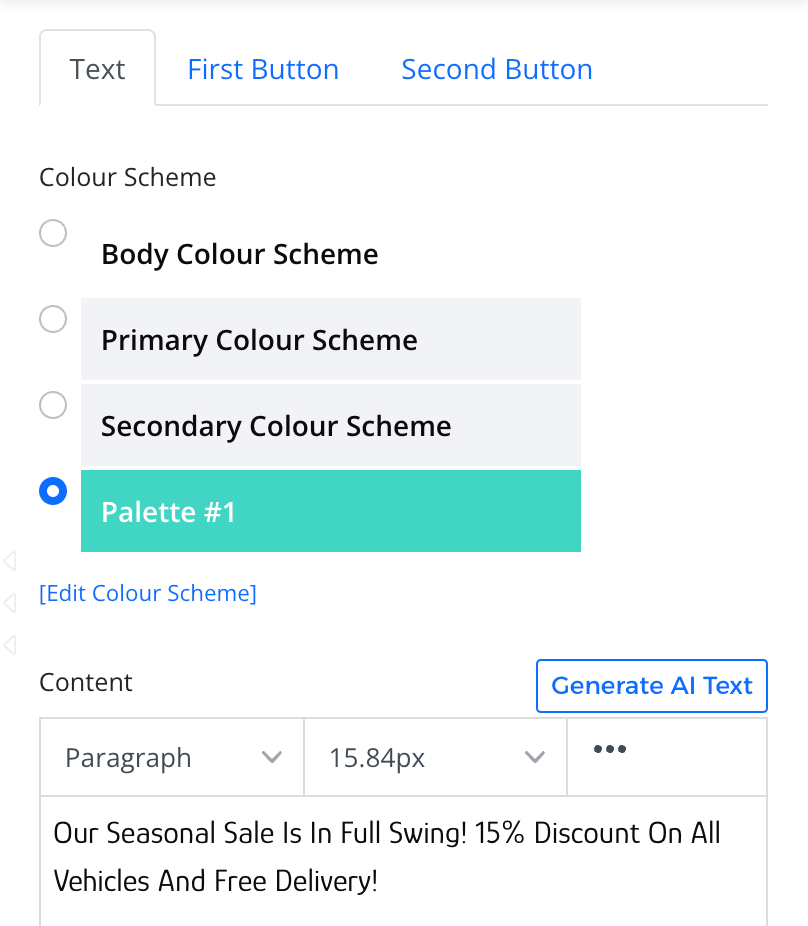
Then choose your colour scheme and enter the text you'd like to appear.
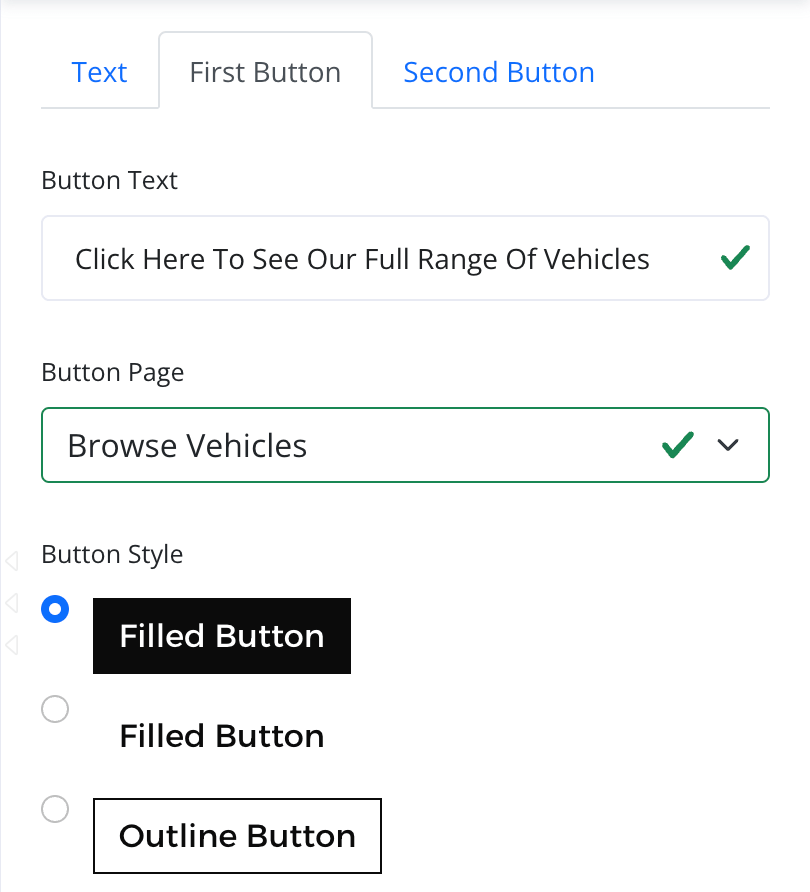
You can also add an interactive button to the banner. First, go to the 'Button' tab, and then name and style the button. Finally, choose which of your pages it links to.
That will appear like this on your website.
Usage Guide
- Account Alerts & Sales Channel Error Notifications
- Adding & Managing Contacts (Customers & Suppliers)
- Adding A Vehicle
- Adding Appointments To Your Calendar
- Adding Pre-Defined Products & Services
- Adding Website Pages & Navigation Links
- Adding Website Tags
- Aftersales Invoices
- AI Lead Assistant
- AI SEO Search Results Explained
- Batch Invoice
- Booking Types & Website Booking Forms
- Branding Your Website
- Browse Vehicles
- Business Contact Details (Telephone & Social Media)
- Business Details (Address, Legal Name & Company Number)
- Business Follow-Ups - Automated SMS & Emails To Customers
- Business Opening Hours (and Holiday Closures)
- Business Social Networks
- Business Users & Roles
- Cancelling A Vehicle Sale or Reservation
- Changing Vehicle Registration (Number Plate)
- Changing Your Membership Plan
- Connecting Finance (iVendi, Codeweavers, CarFinance247 & Evolution Funding)
- Connecting Third-Party Services
- Creating Invoices, Purchase Invoices & Orders
- Customer & Courtesy Vehicles
- Deal Builder
- Display A Different Business Address In MotorDesk
- Displaying Announcements With Website Banners
- Editing Auto-Generated Content In MotorDesk
- Editing Website Pages
- Exporting Business Data
- Filtering Junk Leads
- Handover Process
- Historic Data Viewer
- How MotorDesk Integrates with Sage, Xero & QuickBooks
- How to Add an AA Dealer Promise/Warranty Page
- How To Change Your Website Images
- How To Enable Online Reservations
- Importing Business Data
- Importing Your AutoTrader Stock
- Initial Website Set-Up & Picking A Website Template
- Invoice Customisation
- Membership Payments
- Membership Plans, Data Charges & Payments
- Navigating MotorDesk & Your Dashboard
- OCR (Automatic Invoice Reader) Help
- Remove A Vehicle
- Sales Leads & Chat
- Sales Reports
- Selling A Vehicle
- Selling Multiple Vehicles At Once
- Sending & Signing Documents
- Show Sold Vehicles On Website
- Taking Deposits & Part Payments In MotorDesk
- Un-Publish A Vehicle
- Updating Your Contact Details
- User Profile (Change Email & Password)
- Vehicle Analyser
- Vehicle Appointments
- Vehicle Check
- Vehicle Checklists
- Vehicle Competitors
- Vehicle Condition Reports
- Vehicle Details
- Vehicle Documents
- Vehicle Finance Invoices
- Vehicle History
- Vehicle Image Templates
- Vehicle Images & Videos
- Vehicle Import
- Vehicle Job Boards
- Vehicle Leads & Orders (Leads & Deals)
- Vehicle Locations
- Vehicle Optional Extras, Features & Descriptions
- Vehicle Overview
- Vehicle Photo Background Removal
- Vehicle Purchase & Costs
- Vehicle Quick Check
- Vehicle Reservations
- Vehicle Settings
- Vehicle Silent Saleman
- Vehicle Specification
- Vehicle Stock & Price
- Vehicle Test Drives
- Vehicle Workflows
- Vehicles For Sale Limit Reached
- Vehicles Settings
- Vehicles Stock Book
- Website AI SEO
- Website Banner Settings
- Website Blog Articles
- Website Customer Reviews
- Website Deal Builder Settings
- Website Header & Footer
- Website Live Chat Settings
- Website Settings
- Website Statistics
- Website Valuation Settings
- Website Vehicle Search Result Design