Business Follow-Ups - Automated SMS & Emails To Customers
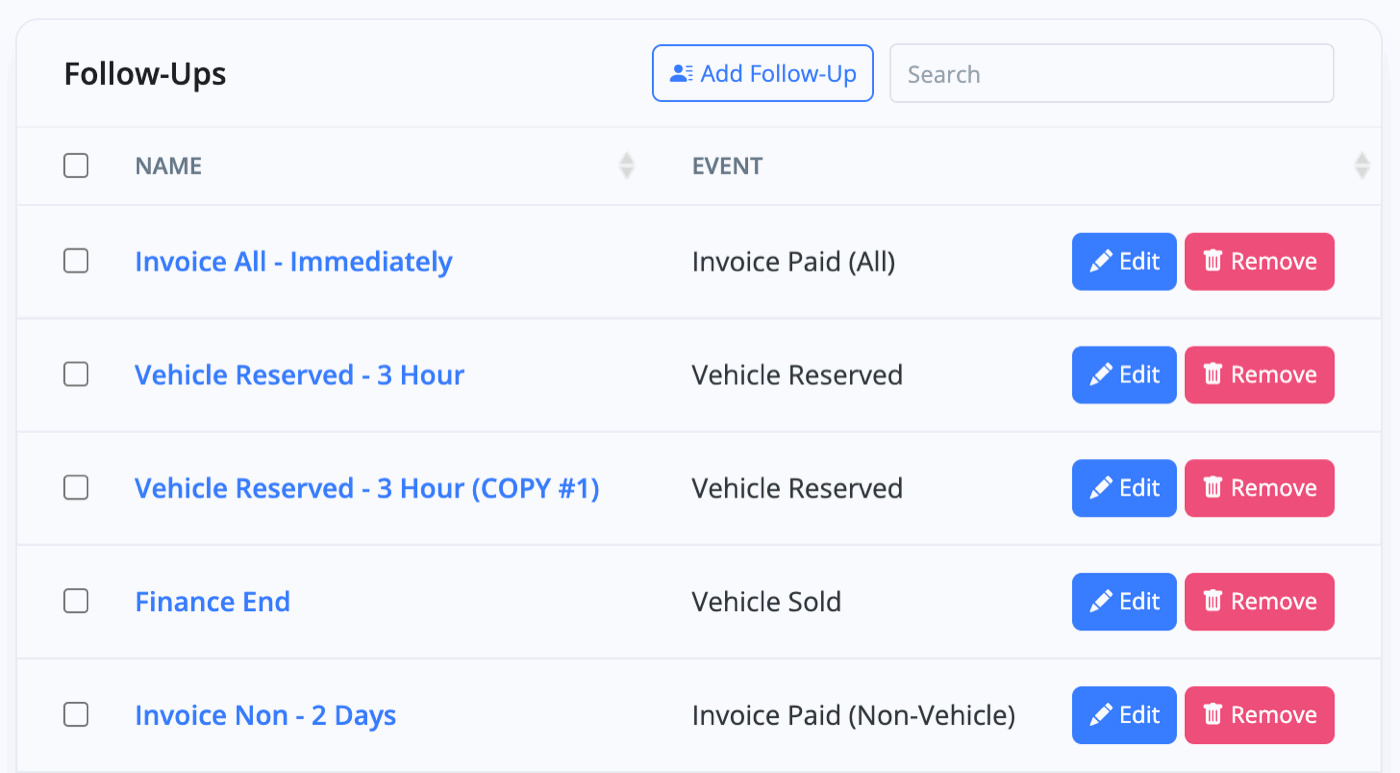
When you navigate to Business -> Follow-Ups you're able to see all of the automated follow-ups/responses you've set-up for your account.
You can add new follow-ups by clicking the 'Add Follow-Up' button at the top, or you can edit a follow-up by clicking 'Edit' on the right-hand side.
Automated Emails After An Event
When adding/editing a Follow-Up, you can name it and choose an 'Event' that triggers the message being sent. For example, when a vehicle is sold or an invoice has been paid.
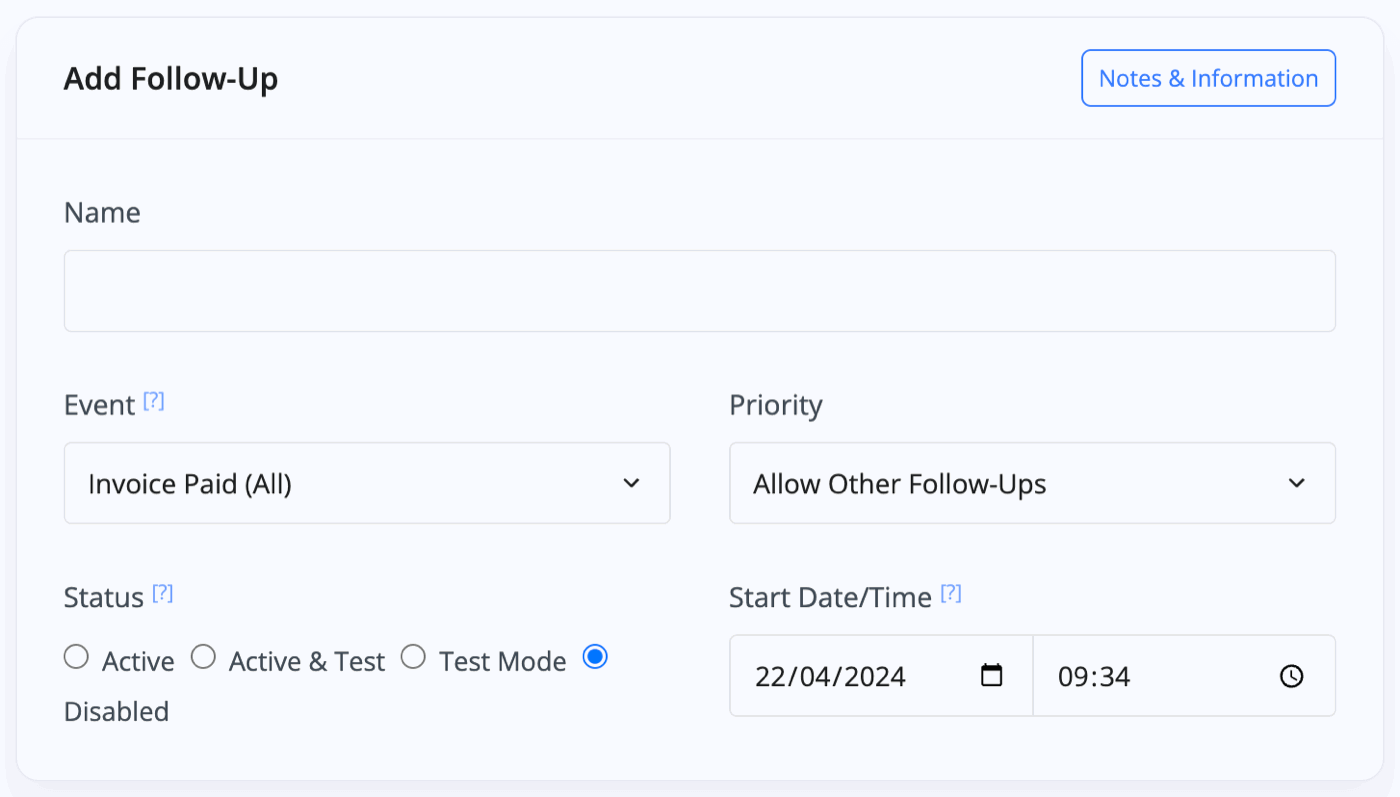
This is linked directly to the section below where you can choose whether the follow-up is sent immediately upon the event, or with a delay after the event. 'Immediately' and 'After Event' follow-ups will only be triggered for events which occurred more recently than the follow-up was created, therefore a newly created follow-up will not be sent for pre-existing invoices and vehicle sales.
Some events only have dates and not times, in these cases the follow-up will be sent at a random time during the day to avoid large numbers of follow-ups being sent at midnight.
Automated Emails Before An Event
There are certain automated messages that can be sent before the trigger event, these are in relation to upcoming MOTs, servicing, or the end of a warranty or finance period. 'Before' events are only sent for vehicles sold in the past three years, and cannot be sent more than 90 days before the event.
Consent & GDPR
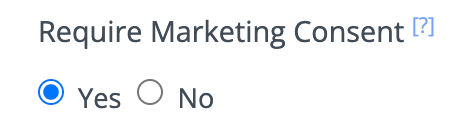
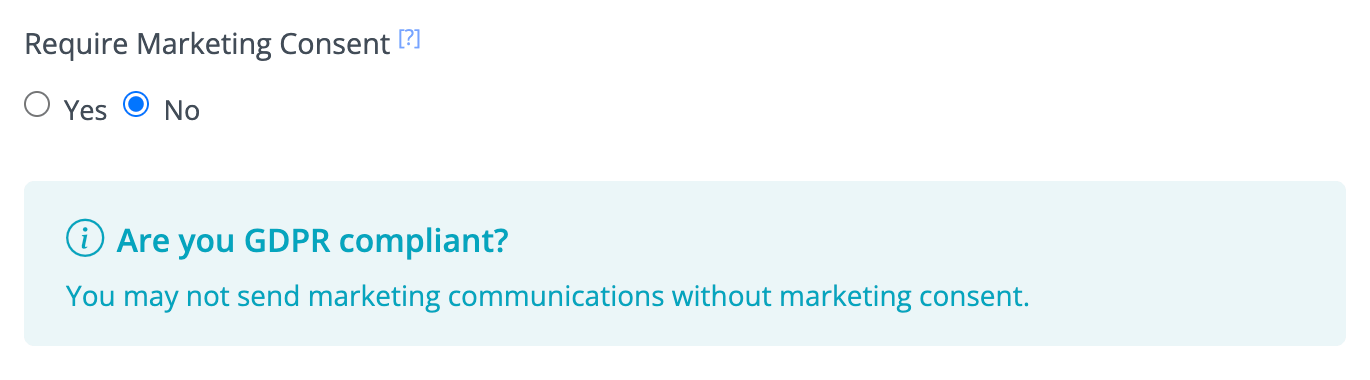
The 'Require Marketing Consent' option should usually be set to 'Yes' for GDPR compliance purposes. It is your responsibility to comply with GDPR, to collect and manage marketing consent responsibly, and to require marketing consent for all marketing communications. You will receive a warning message if you attempt to proceed without requiring consent. It is acceptable to send a follow-up without consent in immediate response to an event if the follow-up is not primarily for marketing - for example, to confirm a reservation or sale.
Message Content
Finally, you can choose the content of your automated message.
First, choose between email or SMS, then add the subject of the email that you'd like to be sent. By clicking 'Show Text Tags' you will be shown all the text tags you can include within your email. These can be copy and pasted into the body of your email or SMS and they'll be replaced with the data for that customer, e.g. 'Hello {CUSTOMER_NAME}' will replace {CUSTOMER_NAME} with the name of your contact.
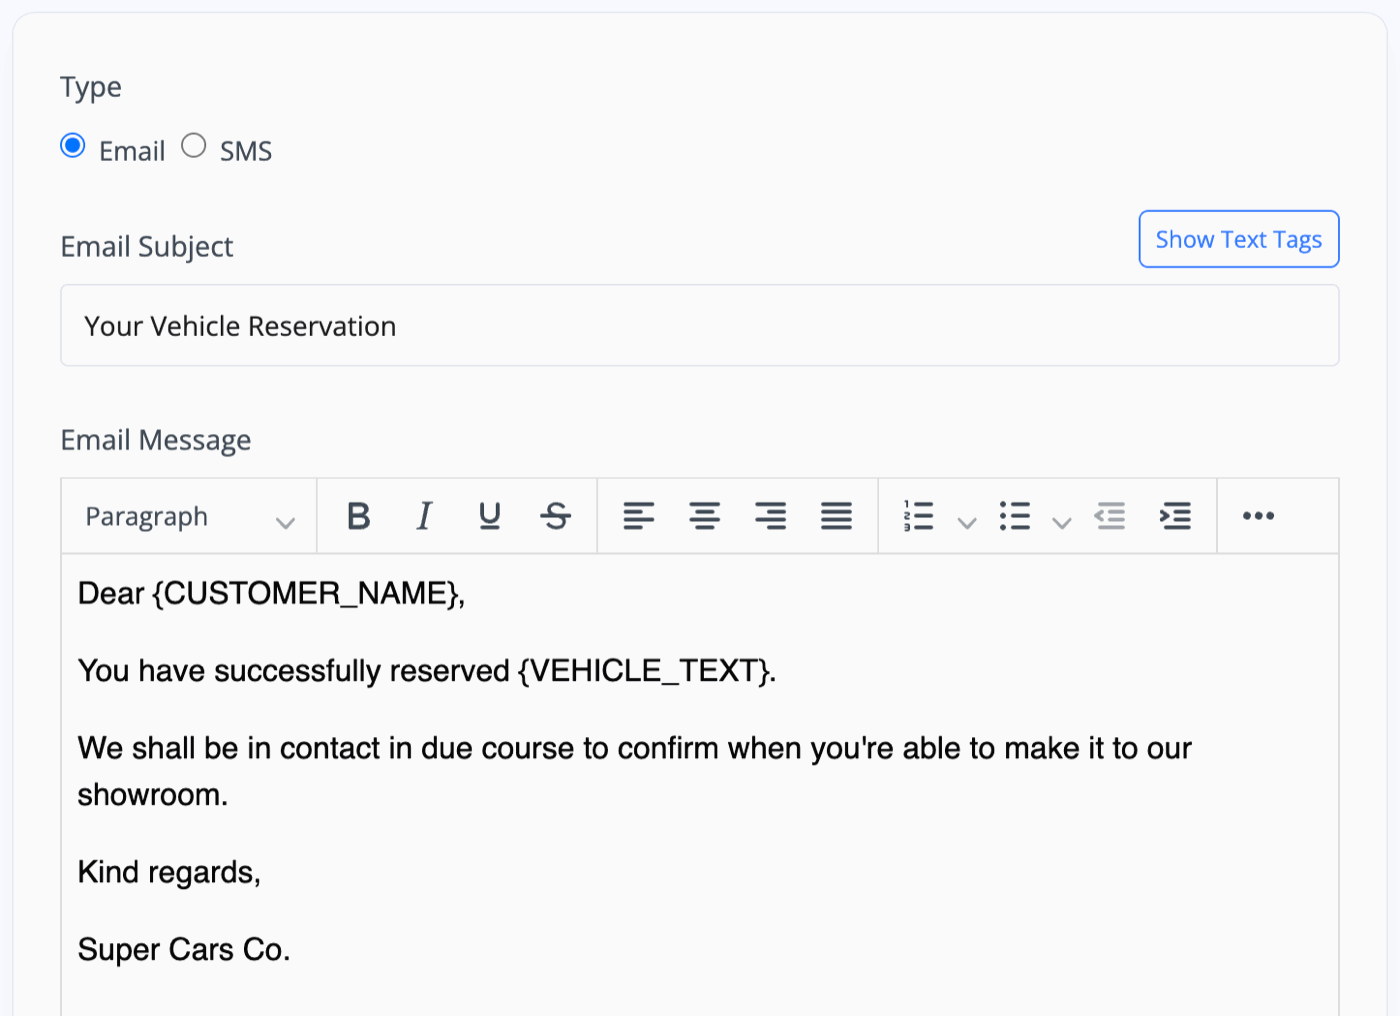
Note: These Text Tags will remain blank if the relevant data is missing. For example, it would be unwise to include a 'Vehicle Description' tag in an automated email if you know that some vehicle descriptions are left blank, or to use a 'Customer Mobile' tag if many customers do not have a mobile number saved.
Once you've finished, click 'Save Changes' at the bottom.
Usage Guide
- Account Alerts & Sales Channel Error Notifications
- Adding & Managing Contacts (Customers & Suppliers)
- Adding A Vehicle
- Adding Appointments To Your Calendar
- Adding Pre-Defined Products & Services
- Adding Website Pages & Navigation Links
- Adding Website Tags
- Aftersales Invoices
- AI Lead Assistant
- AI SEO Search Results Explained
- Booking Types & Website Booking Forms
- Branding Your Website
- Browse Vehicles
- Business Contact Details (Telephone & Social Media)
- Business Details (Address, Legal Name & Company Number)
- Business Follow-Ups - Automated SMS & Emails To Customers
- Business Opening Hours (and Holiday Closures)
- Business Social Networks
- Business Users & Roles
- Cancelling A Vehicle Sale or Reservation
- Changing Vehicle Registration (Number Plate)
- Changing Your Membership Plan
- Connecting Finance (iVendi, Codeweavers, CarFinance247 & Evolution Funding)
- Connecting Third-Party Services
- Creating Invoices, Purchase Invoices & Orders
- Customer & Courtesy Vehicles
- Deal Builder
- Display A Different Business Address In MotorDesk
- Displaying Announcements With Website Banners
- Editing Auto-Generated Content In MotorDesk
- Editing Website Pages
- Exporting Business Data
- Filtering Junk Leads
- Handover Process
- How MotorDesk Integrates with Sage, Xero & QuickBooks
- How to Add an AA Dealer Promise/Warranty Page
- How To Change Your Website Images
- How To Enable Online Reservations
- Importing Your AutoTrader Stock
- Initial Website Set-Up & Picking A Website Template
- Invoice Customisation
- Membership Payments
- Membership Plans, Data Charges & Payments
- Navigating MotorDesk & Your Dashboard
- OCR (Automatic Invoice Reader) Help
- Remove A Vehicle
- Sales Leads & Chat
- Sales Reports
- Selling A Vehicle
- Selling Multiple Vehicles At Once
- Sending & Signing Documents
- Show Sold Vehicles On Website
- Taking Deposits & Part Payments In MotorDesk
- Un-Publish A Vehicle
- Updating Your Contact Details
- User Profile (Change Email & Password)
- Vehicle Analyser
- Vehicle Appointments
- Vehicle Check
- Vehicle Checklists
- Vehicle Competitors
- Vehicle Condition Reports
- Vehicle Details
- Vehicle Documents
- Vehicle Finance Invoices
- Vehicle History
- Vehicle Images & Videos
- Vehicle Import
- Vehicle Job Boards
- Vehicle Leads & Orders (Leads & Deals)
- Vehicle Locations
- Vehicle Optional Extras, Features & Descriptions
- Vehicle Overview
- Vehicle Photo Background Removal
- Vehicle Purchase & Costs
- Vehicle Quick Check
- Vehicle Reservations
- Vehicle Settings
- Vehicle Silent Saleman
- Vehicle Specification
- Vehicle Stock & Price
- Vehicle Test Drives
- Vehicle Workflows
- Vehicles For Sale Limit Reached
- Vehicles Settings
- Vehicles Stock Book
- Website AI SEO
- Website Banner Settings
- Website Blog Articles
- Website Customer Reviews
- Website Deal Builder Settings
- Website Header & Footer
- Website Live Chat Settings
- Website Settings
- Website Statistics
- Website Valuation Settings
- Website Vehicle Search Result Design