Creating Your Business Account
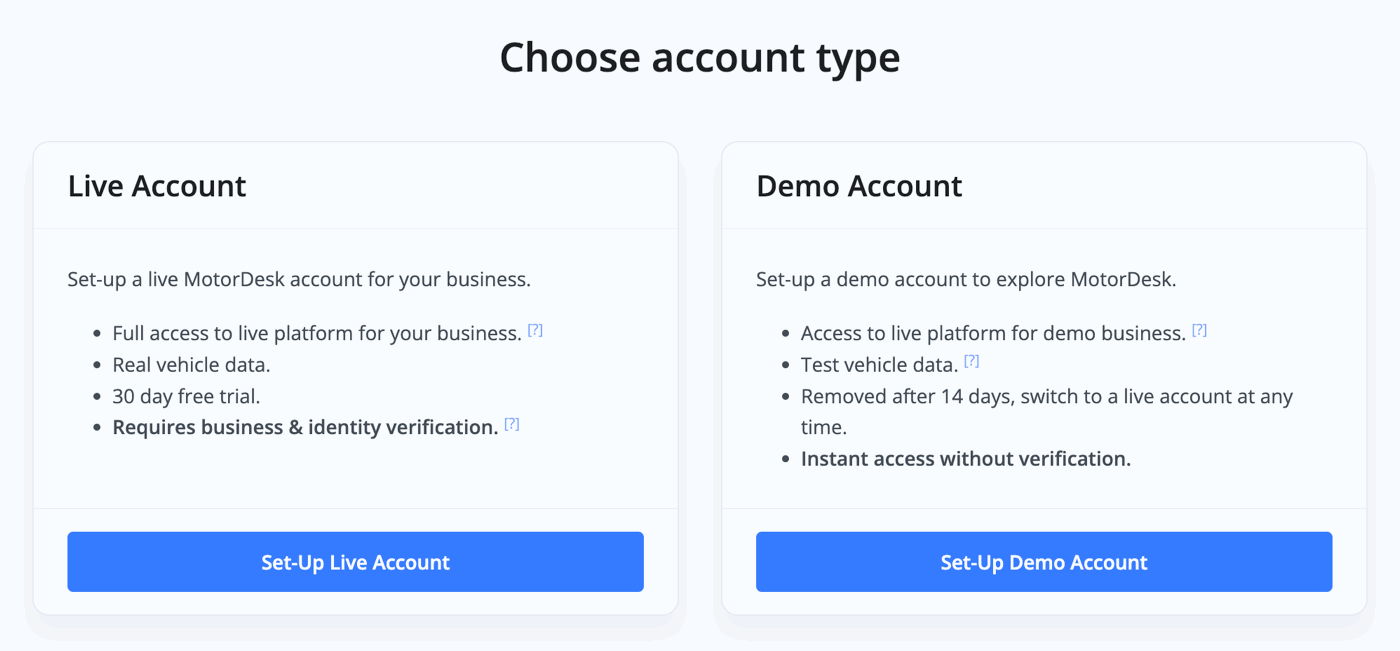
When first creating your MotorDesk account, you have the choice of creating a live account or demo account.
Choose a live account to use real vehicle data and your business details.
Choose a demo account to have a quick look with test vehicle data and preset business details.
Setting up your live account follows a very simple, 4-step process.

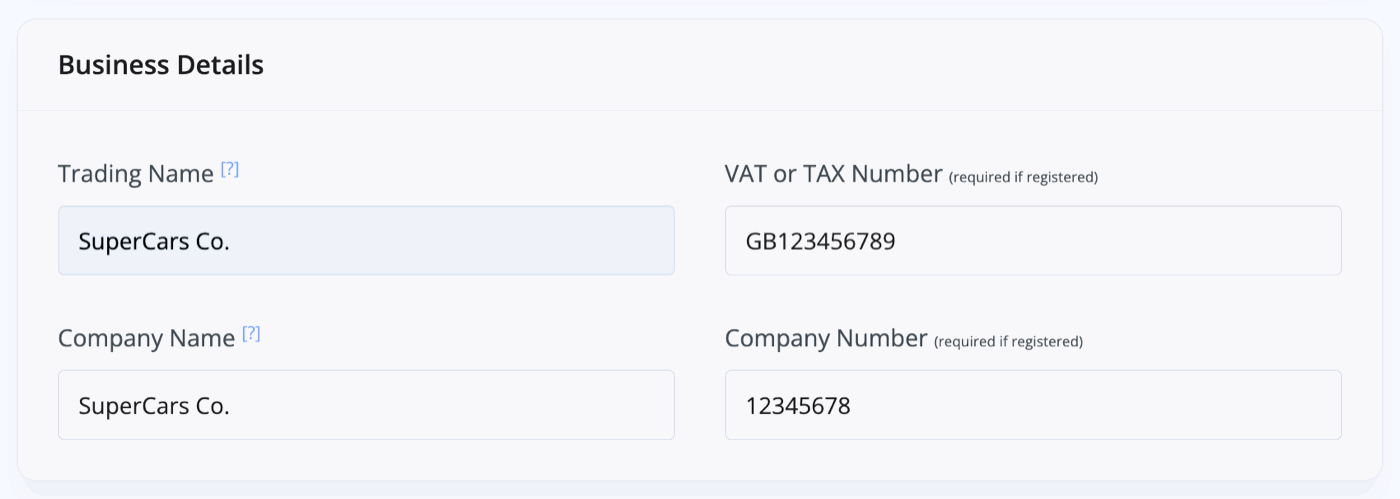
Business Details
The first step is to enter your trading name, company name, company number and VAT number as applicable.
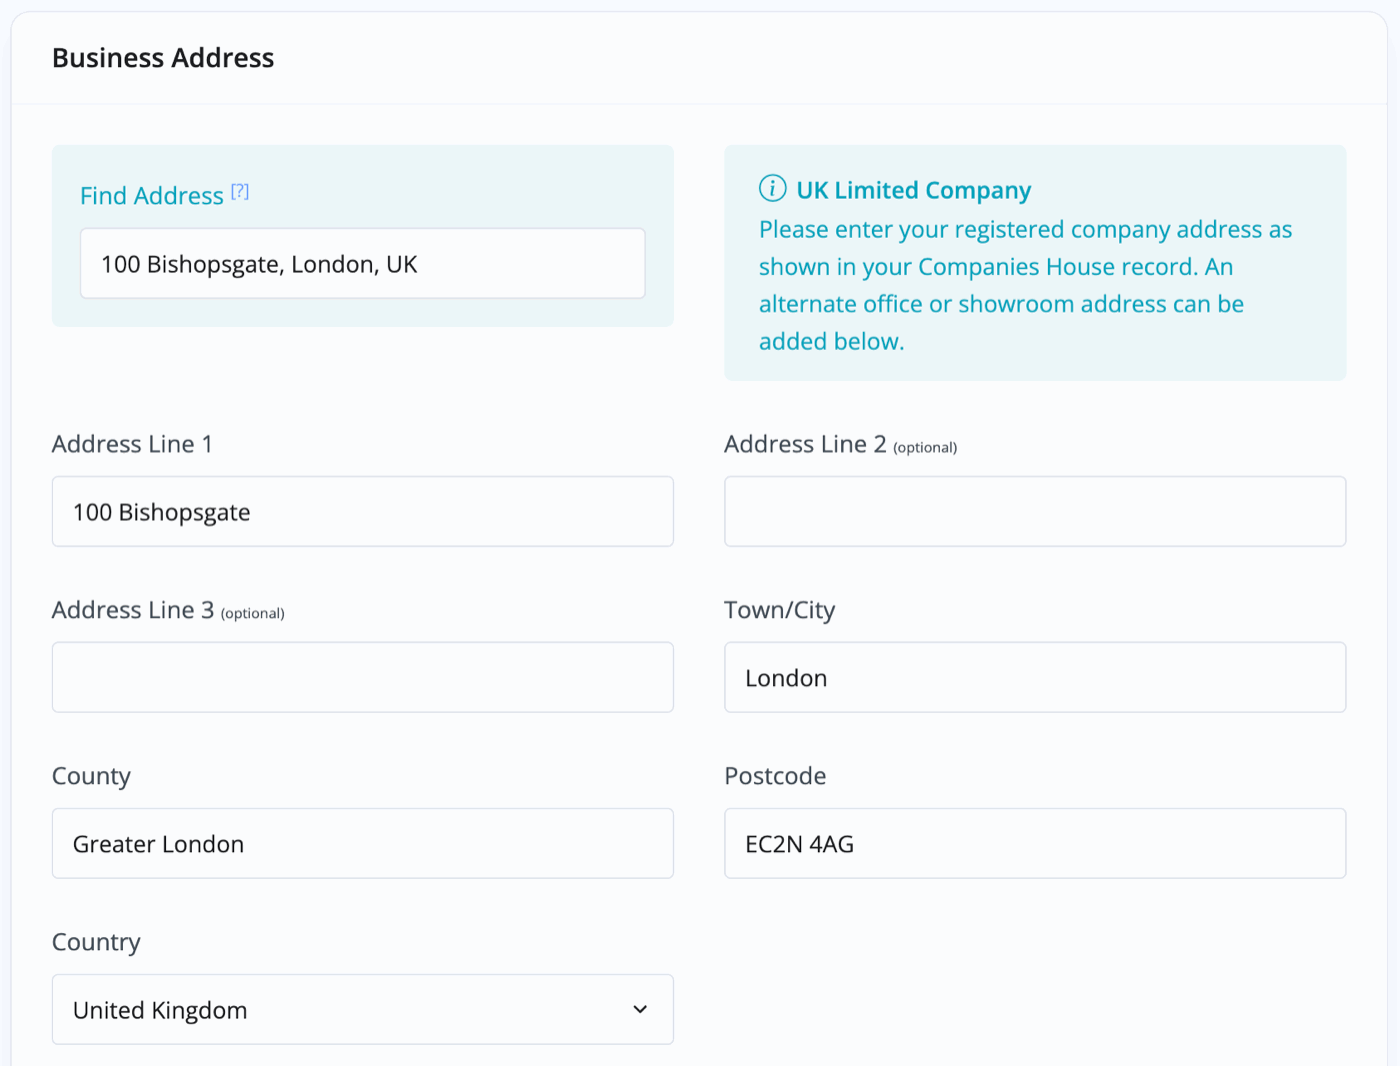
Next, enter your registered office address. For limited companies please enter your registered company address as shown in your Companies House record, even if it's your home or accountant's address. You can use the Find Address tool to search for your address.
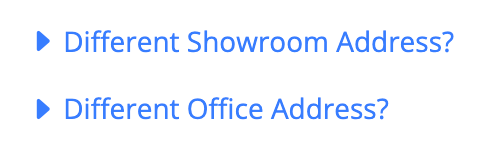
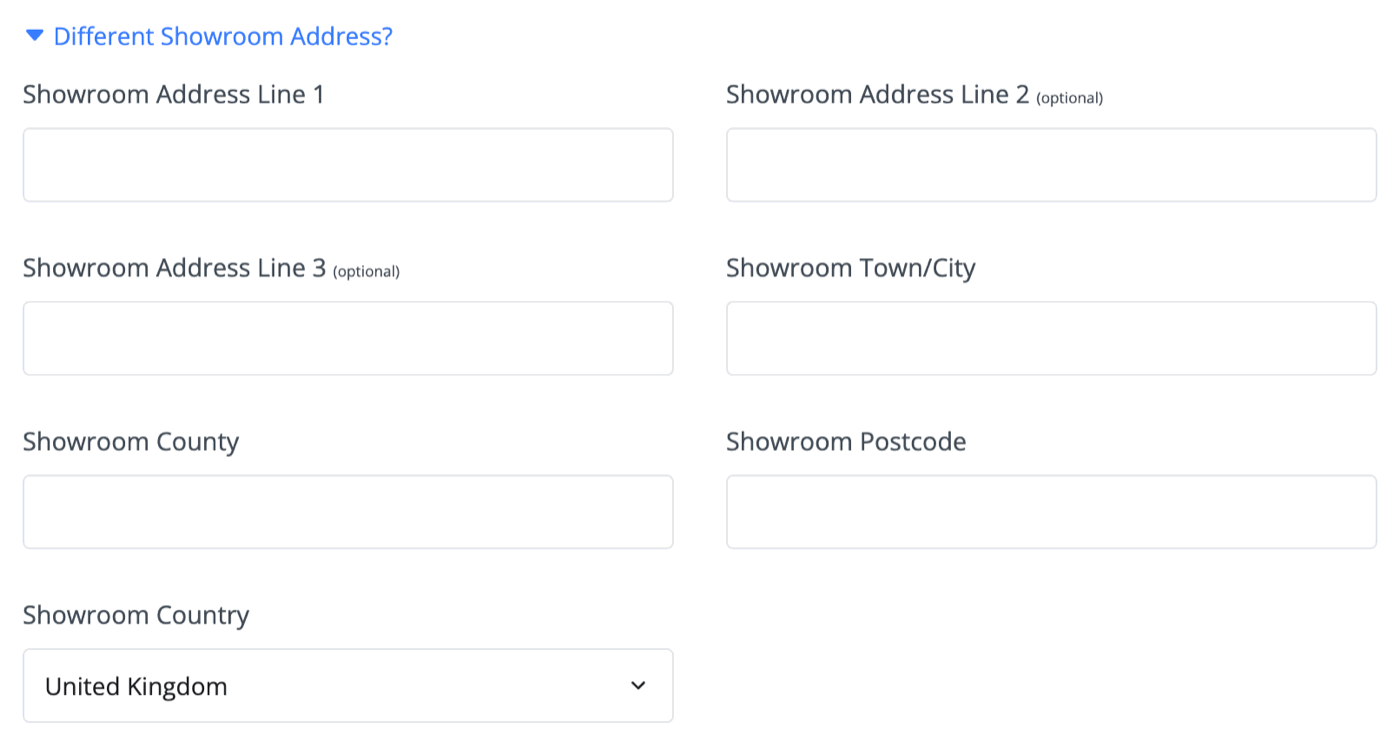
You can add a different showroom address and an extra office address under their respective drop-down menus.
Default language, timezone, currency and units of distance will be set under your Localisation Options, these can be customised if needed. Note these will change automatically when adjusting your business country.

Contact Details
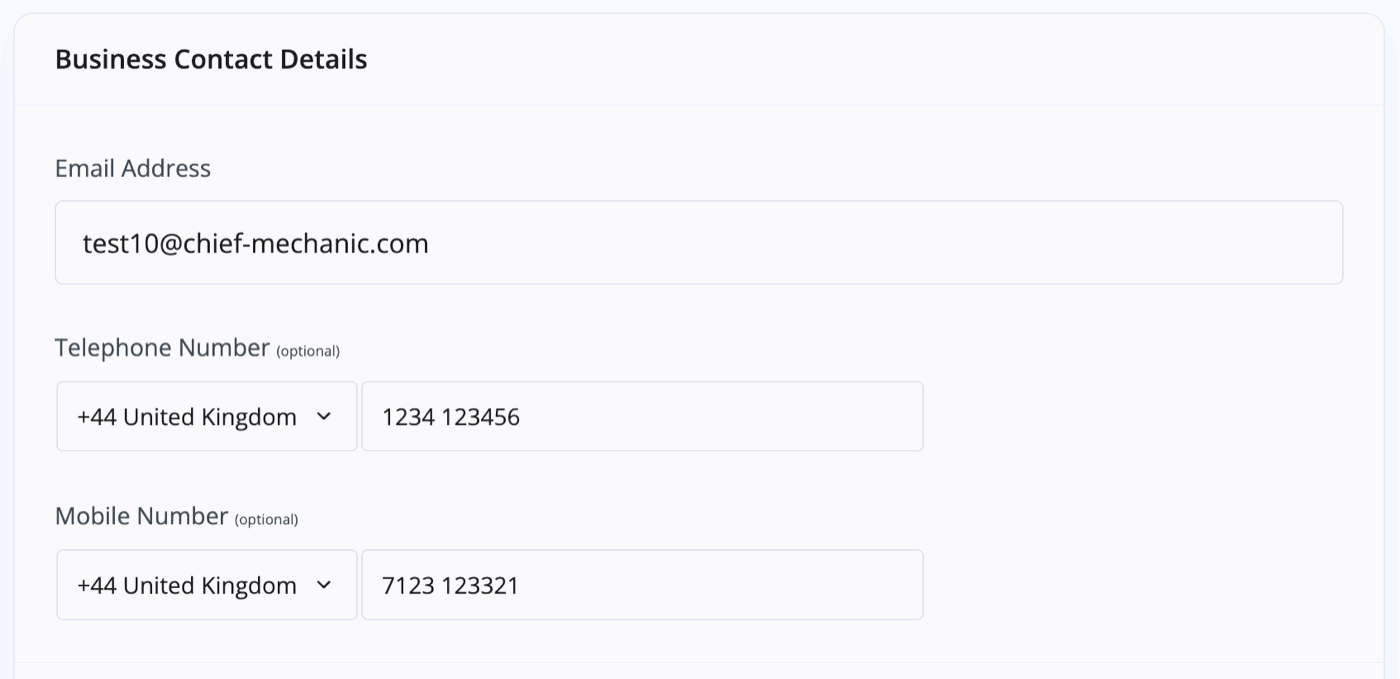
Enter your preferred contact details for customers to reach you on.
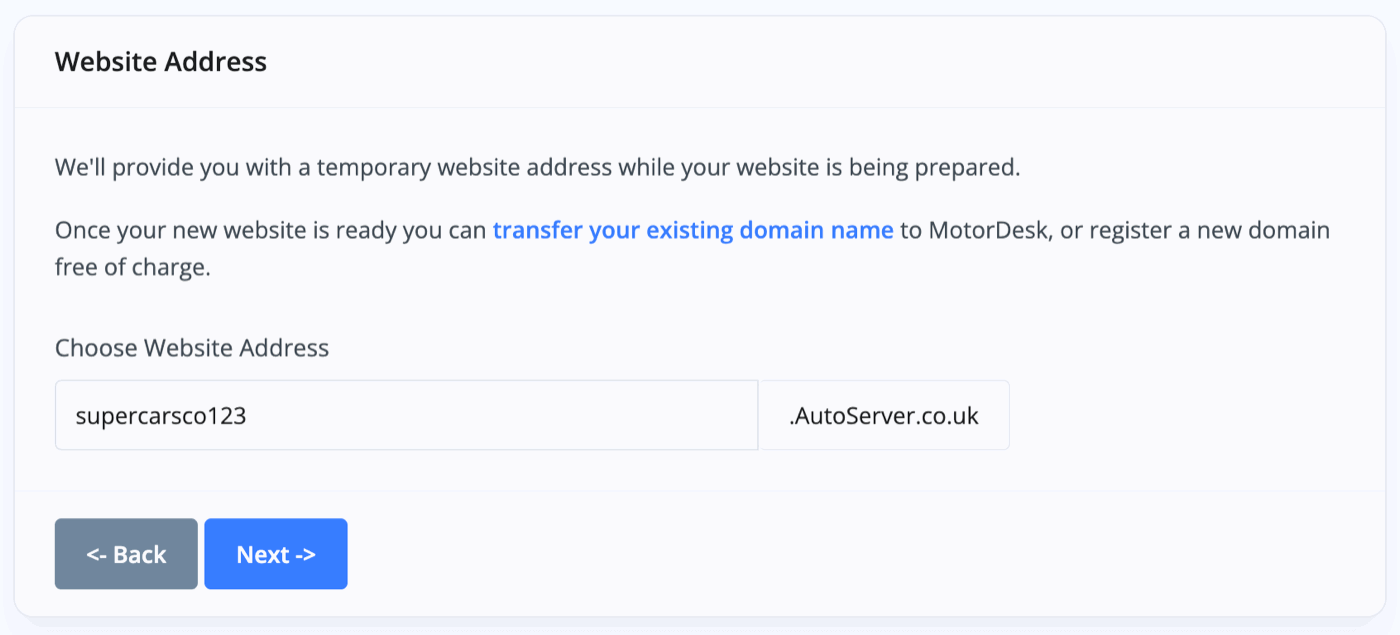
Website
MotorDesk will provide you with a temporary AutoServer.co.uk subdomain address while you get your website prepared, ready to go live.
If you already have a website you'd like to transfer to MotorDesk then this can be done as soon as you've verified your business. You can click the link to transfer your existing domain name for instructions.
If you don't have a domain name yet, you can register one with MotorDesk for free once you've verified your business.
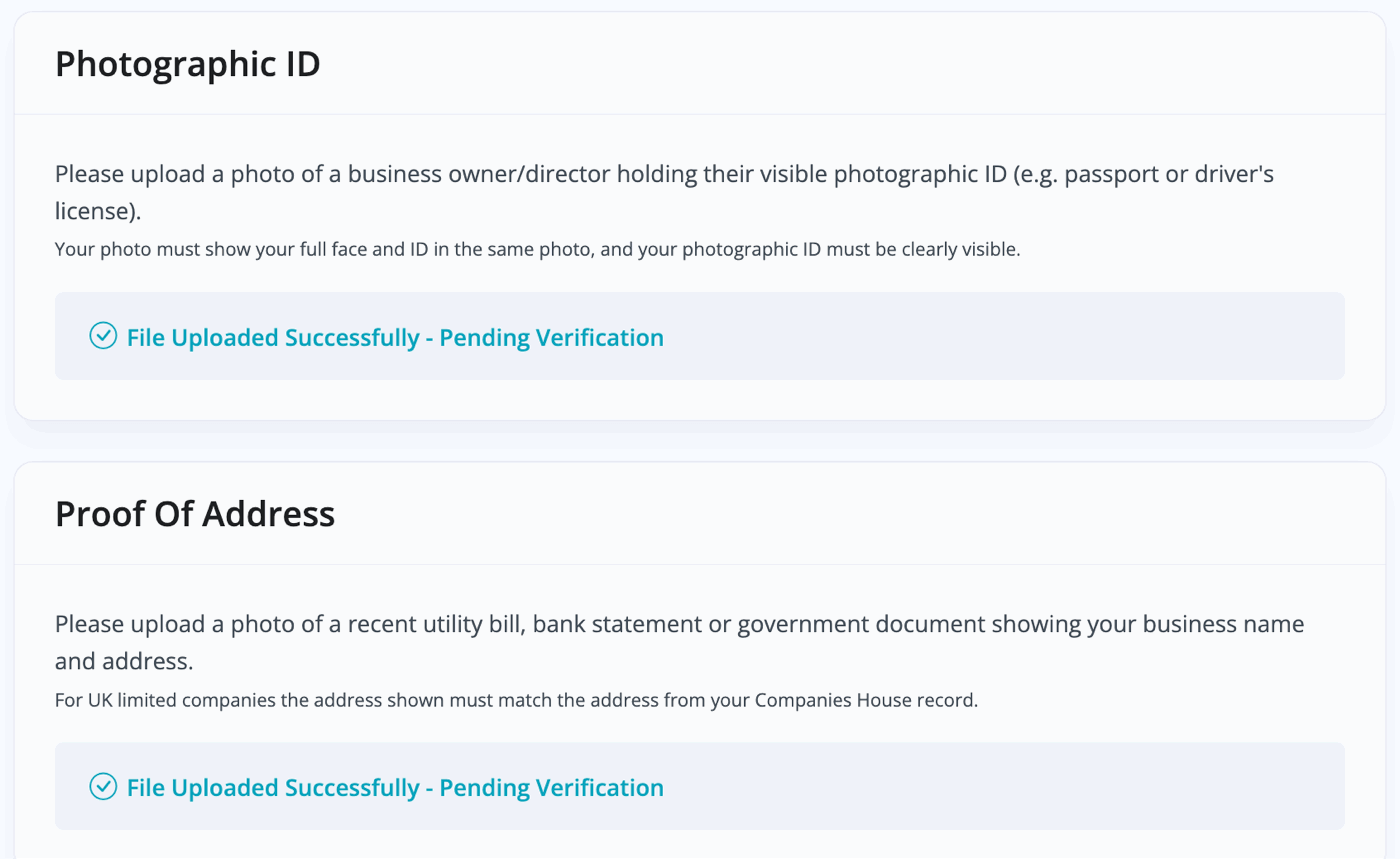
Business Verification
Lastly, you'll need to verify your business. This will require one form of photographic ID and proof of address.
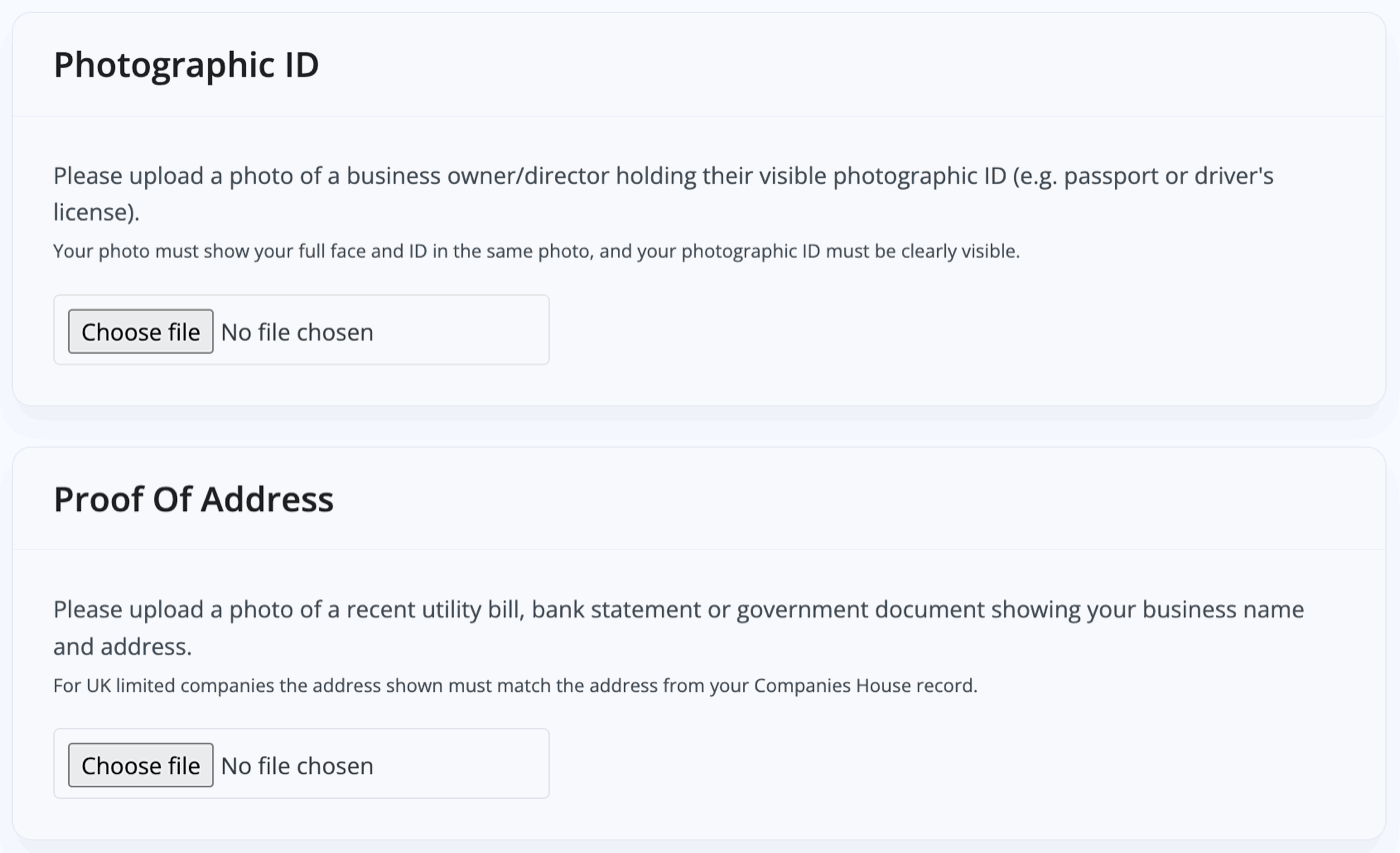
Simply upload the image or PDF files and click 'Request Verification'.

Once submitted, we will check and confirm your verification as quickly as possible.
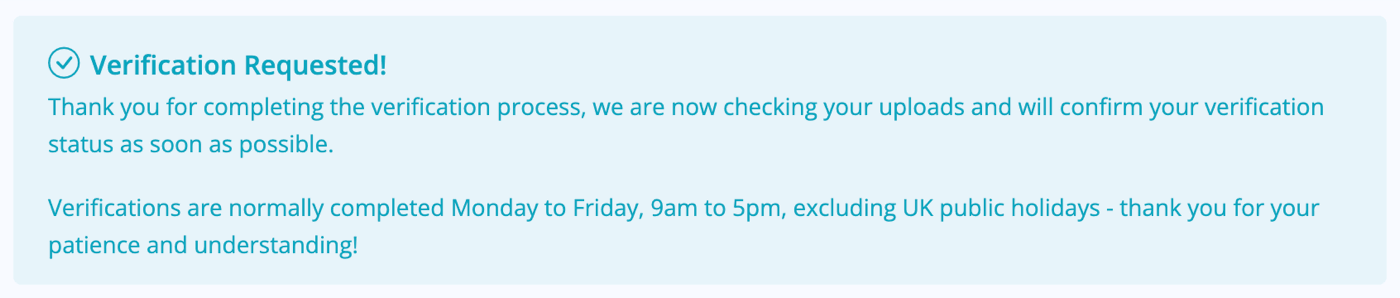
Once we've verified your account, you will receive an email confirming your account is ready. You can then log-in and begin following our Getting Started Guide.
Related Documentation
Set-Up Guidance
- Accounting/Nominal Codes
- Connecting Aircall
- Connecting AutoTrader
- Connecting Bird Messaging (NEW)
- Connecting Bird Messaging (OLD)
- Connecting Intuit QuickBooks
- Connecting MessageBird
- Connecting RingCentral
- Connecting Sage Accounting
- Connecting Stripe
- Connecting takepayments
- Connecting Third-Party Websites
- Connecting Xero
- Creating Your Business Account
- Getting Started Guide
- Online Checkout & Deal Builder Set-Up
- Sales Channels & Marketplaces
- Set-Up Bing Webmaster Tools
- Set-Up Facebook Site Verification
- Set-Up Facebook/Meta Catalogue & Automotive Ads
- Set-Up Google Ads and Facebook Pixel Conversion Tracking
- Set-Up Google Analytics
- Set-Up Google Search Console
- Set-Up Google Tag Manager
- Set-Up Google Vehicle Ads
- Set-Up Meta Pixel (Facebook Pixel)
- Set-Up Vehicle Image Background Removal
- Set-Up Vehicle Image Branding
- Set-Up Vehicle Image Library
- Set-Up Vehicle Image Templates
- Synchronising External Calendar Software/App
- Transferring Your Domain